Have you ever struggled with taking the mop head off your spin mop? It can be tricky and frustrating if you don’t know the right steps.
But don’t worry—removing your mop head is easier than you think. In this guide, you’ll learn simple, clear instructions to quickly detach the mop head without any hassle. Keep reading, and you’ll save time and keep your cleaning tools in great shape.
Let’s get started!
Tools Needed
Removing a mop head from a spin mop is simple with the right tools. Having the correct tools ready makes the task faster and easier. You do not need many tools to do this job.
Here are the basic tools needed for removing a mop head safely and quickly. Each tool helps protect the mop and your hands during the process.
Gloves
Gloves protect your hands from dirt and cleaning chemicals. They also give a better grip on the mop parts. Use rubber or latex gloves for the best protection.
Screwdriver
A screwdriver is useful if your mop head is fixed with screws. Most spin mops use a simple clip, but some models need a small screwdriver to unlock the head.
Bucket Or Container
A bucket or container holds the mop head once removed. It keeps the area clean and avoids spreading dirt on the floor. Use a water-filled bucket if you plan to wash the mop head immediately.
Cloth Or Towel
A cloth or towel helps wipe excess water or dirt from the mop handle. It keeps your hands dry and prevents slipping during the removal process.
Credit: cityofharrah.com
Prepare The Mop
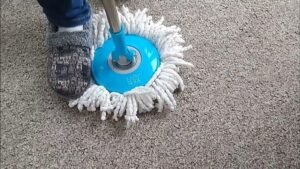
Start by placing the mop on a flat surface. Hold the mop head firmly and twist it gently to detach it from the spin mop handle. Make sure the mop is dry for easier removal.
Preparing your spin mop before removing the mop head makes the process easier. Start by making sure the mop is clean and ready to handle. This step helps avoid mess and damage to the mop parts. Follow simple actions to get the mop ready for head removal.
Empty The Mop Bucket
Drain all the dirty water from the mop bucket first. Carry the bucket to a sink or drain area. Pour out the water carefully to stop spills. A dry bucket keeps the mop head and floor clean. It also helps you work faster and neater.
Position The Mop For Removal
Set the mop on a flat surface for easy handling. Lay it down so the mop head faces up or sideways. This position gives you better control while removing the head. Keep the mop steady with one hand. Use the other hand to detach the mop head smoothly.
Detach The Mop Head
Detaching the mop head is the first step in cleaning or replacing it. This process is simple but needs careful handling to avoid damage. Knowing how to detach the mop head correctly saves time and effort.
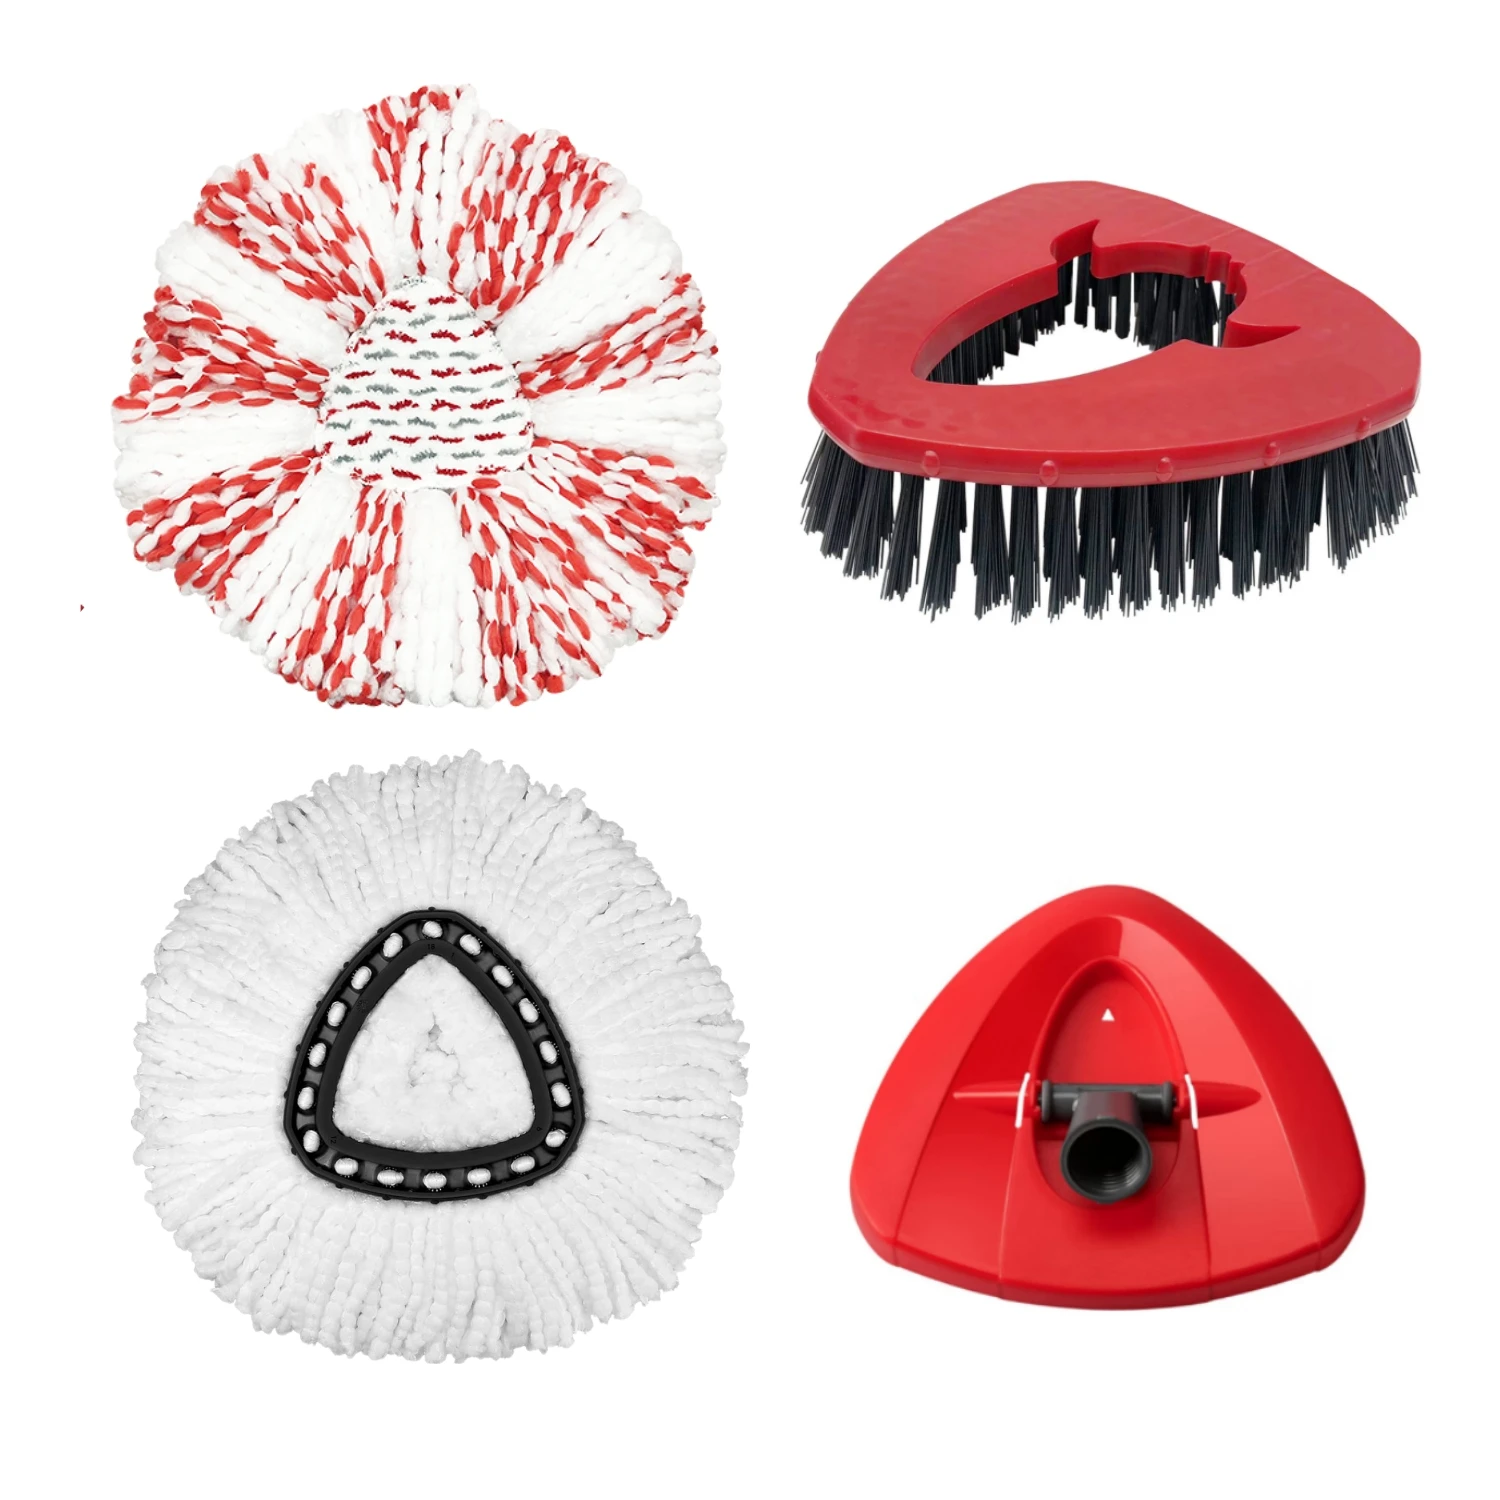
Identify The Connection Type
Check how the mop head connects to the handle. Most spin mops use one of two types: a clip-on or a twist-lock system. Clip-on heads usually snap into place with plastic clips. Twist-lock heads require turning the mop head to unlock it.
Look closely at the mop base. Clips often have small tabs or buttons. Twist-lock types might have arrows or grooves showing the turn direction. Identifying the type helps you remove the mop head without force.
Release The Mop Head
For clip-on types, press or squeeze the clips gently. Pull the mop head straight down to detach it. Avoid pulling at an angle to prevent breaking the clips.
For twist-lock types, grip the mop head firmly. Turn it counterclockwise until it loosens. Then lift the mop head off the handle. If it feels stuck, try wiggling it slightly while turning.
After removal, inspect the mop head and handle for dirt or damage. Proper care ensures longer use and better cleaning performance.

Credit: masthomego.com
Clean And Maintain Mop Parts
Keeping your spin mop clean is important for a fresh and hygienic home. Regular care helps the mop last longer and work better. Cleaning and maintaining each part keeps dirt and bacteria away.
Proper maintenance also saves money by avoiding early replacements. Follow these simple steps to wash and check your mop parts.
Wash The Mop Head
Remove the mop head carefully from the spin mop. Rinse it under warm water to remove loose dirt. Use a mild detergent for a deep clean. Soak the mop head for 10 to 15 minutes in soapy water. Rinse well to remove all soap. Let it air dry completely before reattaching. Avoid using a dryer to keep fibers strong.
Inspect The Mop Handle
Check the mop handle for cracks or loose parts. Tighten any screws or connectors to keep it stable. Wipe the handle with a damp cloth to remove dust and grime. Dry the handle well to prevent rust or damage. Replace any broken parts to keep the mop working smoothly.
Attach A New Mop Head
Attaching a new mop head to your spin mop is simple and quick. It keeps your cleaning effective and your mop working well. Follow these easy steps to fix the new mop head securely.
Align The Mop Head
Place the mop head flat on the floor or a clean surface. Make sure the center hole of the mop head matches the spinner on the mop handle. Check if the fibers spread evenly around the spinner. Proper alignment helps the mop spin correctly and clean better.
Secure The Mop Head
Press the mop head firmly against the spinner. Push down until you hear a click or feel it snap into place. Test by gently tugging the mop head to see if it stays attached. A tight fit stops the mop head from coming loose during use.
Tips For Longevity
Keeping your spin mop in good shape helps you save money and clean better. Taking care of the mop head extends its life and keeps it working well. Follow simple tips to keep the mop head fresh and strong for longer.
Regular Cleaning
Wash the mop head after each use. This stops dirt from building up. Use warm water and mild soap. Avoid bleach or harsh chemicals. Rinse well to remove all soap. Let it dry completely before using again. Clean mop heads clean floors better.
Proper Storage
Store the mop in a dry place. Hang it up if you can. This stops the mop head from getting wet and smelly. Avoid leaving it in water or damp spots. Keep the mop head loose, not pressed down. Proper storage keeps fibers strong and ready.

Credit: www.youtube.com
Frequently Asked Questions
How Do I Detach The Mop Head From A Spin Mop?
To remove the mop head, place the mop flat on the floor. Step on the mop head to unlock it, then pull the handle upward firmly. The mop head will easily detach from the spinning mechanism for cleaning or replacement.
Can I Wash The Spin Mop Head After Removal?
Yes, you can wash the spin mop head after removal. Most mop heads are machine-washable or can be hand-washed with mild detergent. Always check the care instructions on the mop head label for the best cleaning method.
What If The Mop Head Won’t Come Off Easily?
If the mop head won’t come off, apply gentle pressure while stepping on it. Avoid excessive force to prevent damage. Sometimes, twisting the mop handle slightly while pulling can help release a stuck mop head.
How Often Should I Replace The Spin Mop Head?
Replace the spin mop head every 3 to 6 months, depending on usage. Regular replacement ensures effective cleaning and hygiene. Inspect the mop head for wear, fraying, or odor to decide when to replace it.
Conclusion
Removing the mop head from a spin mop is simple and quick. Just follow the steps carefully for easy detachment. Regular cleaning keeps your mop fresh and ready to use. Taking care of your mop helps it last longer. Now, you can clean your floors without any hassle.
Try it yourself and see how easy it is!
As an Amazon Associate, I earn from qualifying purchases.