Is your spin mop not cleaning as well as it used to? Changing the mop head can make a huge difference in how fresh and spotless your floors look.
But if you’ve never done it before, the idea might seem tricky or confusing. Don’t worry—this guide will show you exactly how to change your spin mop head quickly and easily. By the end, you’ll have your mop ready to tackle dirt like new again.
Keep reading to learn the simple steps that save you time and effort every time you clean.

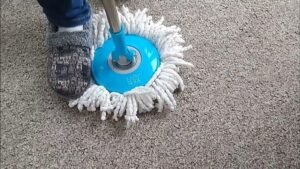
Credit: www.youtube.com
Tools Needed
Changing the mop head on a spin mop is a simple task. Having the right tools ready makes the process smooth and fast. This section lists the basic tools needed to change the mop head safely and easily.
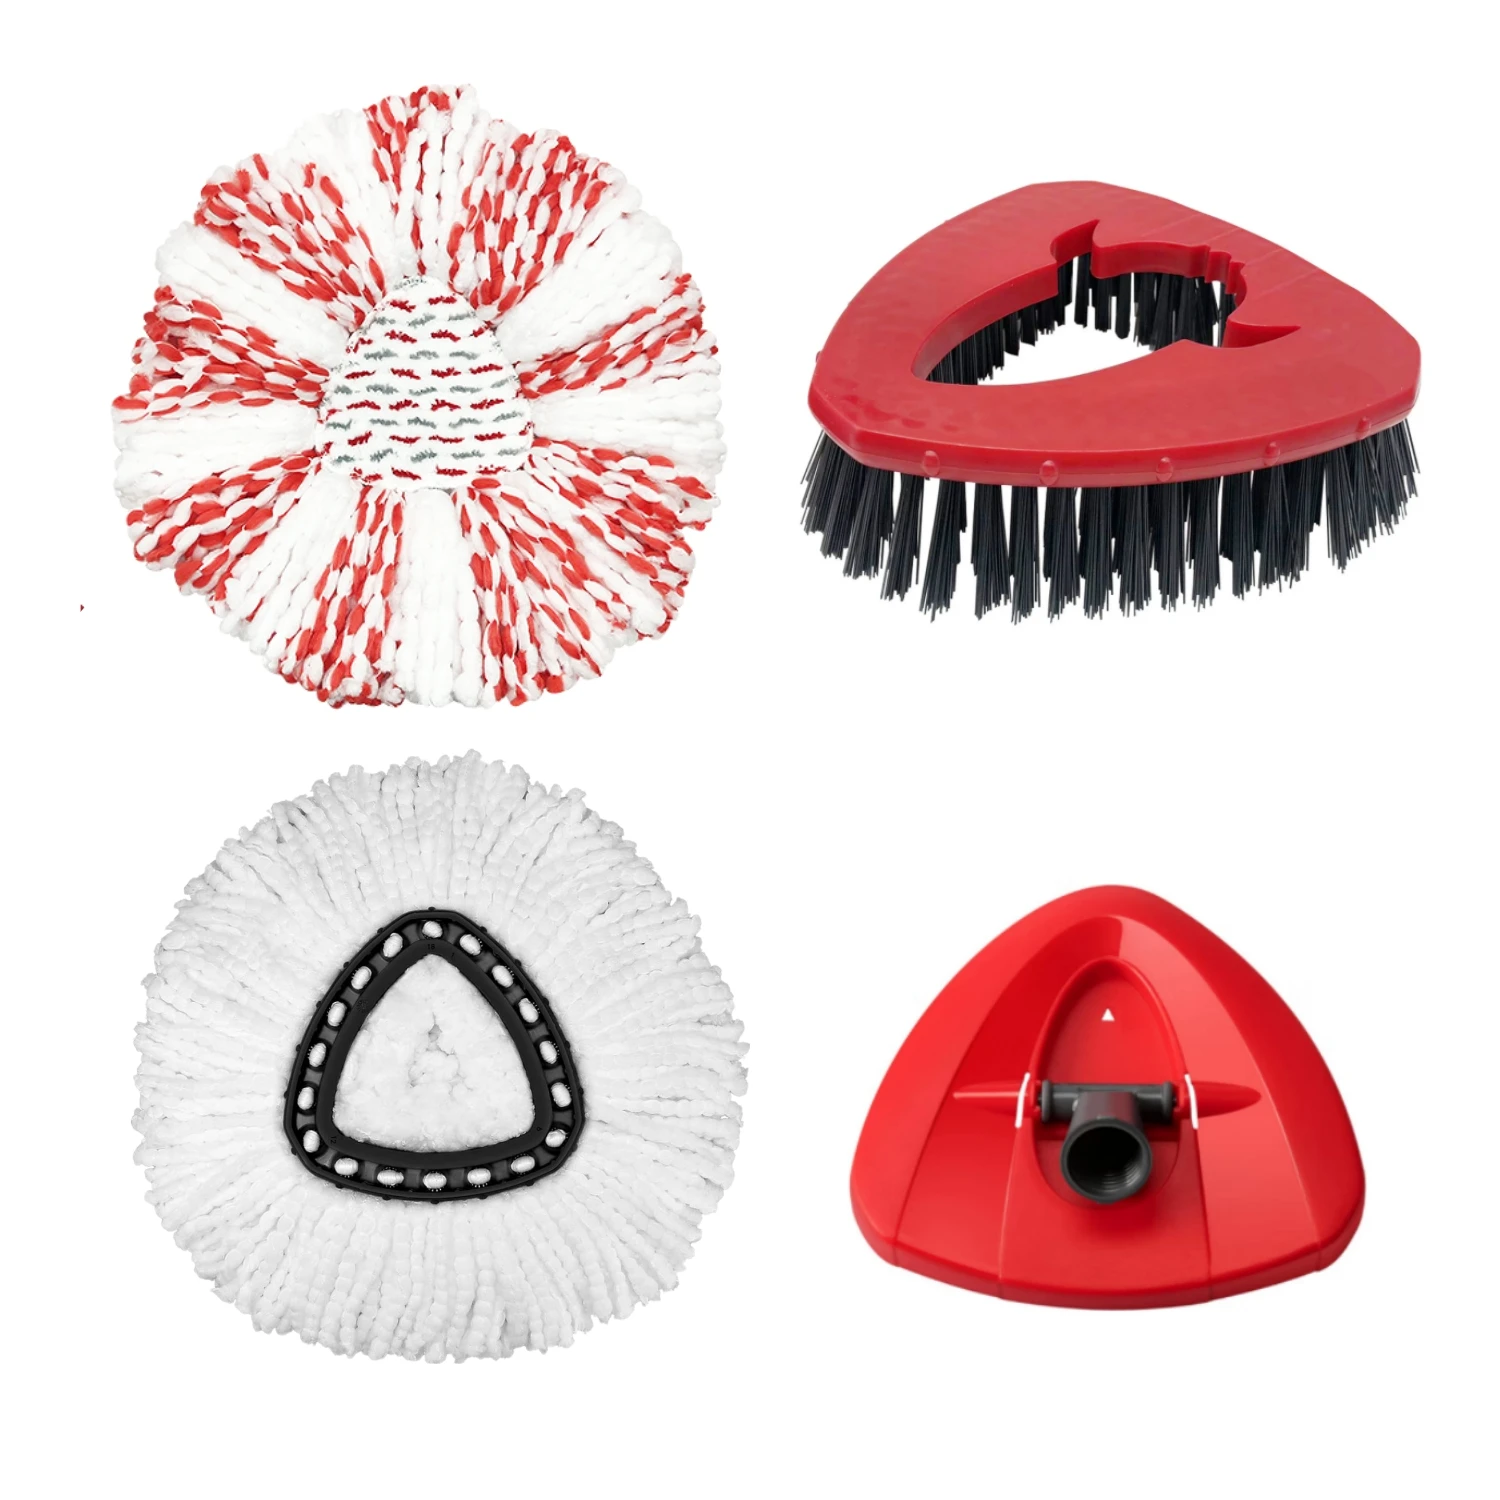
New Mop Head
Choose a mop head that fits your spin mop model. Check the size and attachment style. Using the correct mop head ensures proper cleaning and easy installation.
Gloves
Wear gloves to protect your hands from dirt and cleaning chemicals. Gloves also help grip the mop head better during removal and replacement.
Bucket With Water
Keep a bucket of water nearby. It helps rinse the mop head before removal. Clean water also prevents dirt from spreading during the change.
Cleaning Cloth
Have a cleaning cloth ready. Use it to wipe the mop handle and spin mechanism. This keeps the mop clean and working smoothly.

Credit: www.amazon.com
Prepare The Mop
Preparing your spin mop before changing the mop head is an important step. It helps make the process quick and easy. Getting the mop ready also ensures safety and cleanliness.
Follow simple steps to prepare the mop properly. These steps will save time and avoid mess.
Gather Cleaning Supplies
Start by collecting all items needed for the task. You will need a new mop head, gloves, and a bucket. Having everything close helps avoid interruptions.
Empty The Mop Bucket
Make sure the mop bucket is empty and dry. This prevents spills and slipping accidents. A clean bucket also keeps the new mop head fresh.
Wear Protective Gloves
Put on gloves to protect your hands. Old mop heads may have dirt and germs. Gloves keep your hands clean and safe during the change.
Position The Mop Upright
Stand the mop straight on a flat surface. This makes the mop head easy to remove. A stable mop avoids falling and damage.
Remove Old Mop Head
Removing the old mop head is the first step in changing a spin mop. It keeps your cleaning efficient and your mop working well. Knowing how to take off the old head helps you replace it quickly and easily.
Different spin mops have different ways to release the mop head. Understanding these will save time and effort.
Release Mechanism Types
Some spin mops use a button release. Press the button to detach the mop head.
Others use a twist mechanism. Turn the mop head counterclockwise to remove it.
Some models have a clip or lock system. You must unlock or unclip the mop head.
Check your mop to see which release type it has. This makes removal simple and safe.
Step-by-step Removal
Place the mop on the floor or a flat surface.
If your mop has a button, press it firmly while pulling the mop head down.
For twist types, hold the handle and twist the mop head left to loosen it.
With clip systems, unlock or unclip the fastener before pulling off the mop head.
Remove the mop head carefully to avoid damage.
Clean the mop base if needed before attaching a new head.
Attach New Mop Head
Attaching a new mop head is a simple step in keeping your spin mop effective. It ensures the mop cleans well and lasts longer. Follow the steps carefully to fit the new mop head securely. This helps avoid any issues while mopping.
Aligning The Mop Head
Place the new mop head on a flat surface. Check the center hole of the mop head. Line it up with the mop’s base. Make sure the mop fibers spread out evenly around. This helps the mop spin smoothly.
Securing The Mop Head
Push the mop head firmly onto the mop base. You may hear a click sound. This means the mop head is locked in place. Tug the mop head gently to confirm it is secure. A tight fit prevents it from falling off during use.
Test The Mop
Testing the mop after changing the mop head is important. It ensures the new head fits well and works properly. A good test helps avoid leaks or damage during cleaning. Take a moment to check the mop’s performance before starting your cleaning task.
Check The Attachment
Make sure the mop head is firmly attached. Gently pull it to see if it stays in place. A loose mop head will come off easily. Secure attachment means better cleaning and less hassle.
Spin The Mop
Use the spin function to test the mop head. It should spin smoothly without wobbling. If it feels loose or uneven, adjust the mop head. Proper spinning helps remove water and dirt effectively.
Test On A Small Area
Try mopping a small spot on the floor. This shows if the mop head cleans well. Check for water leaks or thread shedding. A good mop head cleans evenly and stays intact.
Feel The Mop Head
Touch the mop head to check its texture. It should be soft but firm enough to clean. A worn-out mop head feels rough or hard. New mop heads make mopping easier and more effective.
Credit: cityofharrah.com
Maintenance Tips
Proper maintenance keeps your spin mop working well and lasting longer. Taking care of the mop head is key. Follow simple steps to clean and replace it at the right time.
Cleaning The Mop Head
Remove the mop head from the spin mop. Rinse it under warm water to remove dirt. Use mild soap for a deeper clean. Avoid harsh chemicals that can damage fibers. Let the mop head air dry completely before reuse. Regular cleaning prevents bad odors and bacteria build-up.
Replacing Frequency
Change the mop head every 3 to 6 months. Replace sooner if it looks worn or smells bad. Frequent use may require more changes. A fresh mop head cleans better and protects your floors. Keep a spare mop head for quick replacement.
Frequently Asked Questions
How Do I Remove The Old Mop Head?
To remove the old mop head, twist it counterclockwise or press the release button, depending on your mop model. Gently pull the mop head off the spinning mechanism. Always check your mop’s manual for specific instructions to avoid damage.
How To Attach A New Mop Head Correctly?
Align the new mop head with the spinning base. Press firmly until it clicks or twist it clockwise to lock. Ensure it is secure to avoid detachment while mopping. Follow your mop’s instructions for the best fit.
When Should I Replace My Spin Mop Head?
Replace your mop head when it shows signs of wear, like fraying or discoloration. Also, change it if it loses absorbency or starts to smell. Regular replacement ensures effective cleaning and hygiene.
Can I Use Any Mop Head With My Spin Mop?
It’s best to use mop heads compatible with your spin mop brand and model. Universal mop heads may not fit securely or spin properly. Check product specifications for compatibility before purchasing.
Conclusion
Changing a mop head on a spin mop is simple and quick. Just follow the steps carefully to avoid mistakes. Regularly replacing the mop head keeps your floors clean and fresh. It also helps the mop last longer. Taking a few minutes to do this saves time in the long run.
Your cleaning routine will feel easier and more effective. Now, you can enjoy a clean home with less effort. Keep your spin mop ready for the next cleaning session.
As an Amazon Associate, I earn from qualifying purchases.