Are you looking to refresh your living space without spending a fortune? Making your own throw pillow covers is a simple and fun way to add a personal touch to your home.
Imagine having pillows that perfectly match your style, colors, and mood—crafted by your own hands. In this guide, you’ll discover easy steps to create beautiful, custom pillow covers that anyone can make. Ready to transform your room and impress your guests?
Let’s dive into how you can start making your own throw pillow covers today.

Credit: www.enjoytheviewblog.com
Materials Needed
Making throw pillow covers is simple with the right materials. Having the correct supplies helps create neat and durable covers. This section explains what you need to start your project.
Choosing Fabric
Select a fabric that feels comfortable and suits your room style. Cotton is soft and easy to sew. Linen offers a natural texture and is strong. For a shiny look, try satin or silk blends. Pick a fabric that cleans well and lasts long.
Selecting Thread And Tools
Use thread that matches your fabric color. Polyester thread is strong and works on most fabrics. Cotton thread suits natural fabrics best. Basic tools include sharp scissors, pins, and a sewing needle or machine. A measuring tape helps get the size right.
Additional Supplies
Besides fabric and thread, you may need a zipper or buttons. These close the pillow cover and keep the pillow inside. A fabric marker or chalk helps mark cutting lines. Iron and ironing board make seams flat and neat. These small items improve your sewing experience.
Measuring And Cutting Fabric
Measuring and cutting fabric is the first step in making throw pillow covers. Accurate measurements ensure the cover fits the pillow perfectly. Cutting the fabric correctly saves time and avoids waste. This part is simple with the right tools and careful steps.
Measuring Your Pillow
Start by measuring the length and width of your pillow. Use a soft tape measure for better accuracy. Note down the size in inches or centimeters. Add an extra 1 to 2 inches for seam allowance. This extra fabric helps sew the cover together easily. Double-check your measurements before cutting.
Cutting Fabric Pieces
Lay your fabric flat on a clean surface. Use fabric scissors for a smooth cut. Mark the fabric with chalk or a pencil following your measurements. Cut two pieces if making a simple envelope cover. Cut carefully along the marked lines to keep edges straight. Keep your cuts neat for a professional look.
Sewing The Pillow Cover
Sewing the pillow cover is a key step in creating beautiful throw pillows. It brings your fabric pieces together and shapes the cover. This process needs care and attention to detail. You will use simple sewing skills to make a neat and durable cover. Follow these steps to sew your pillow cover with confidence.
Pinning The Fabric
Start by placing the fabric pieces with right sides facing each other. Align the edges carefully. Use straight pins to hold the fabric in place. Pin around all sides except the opening edge. This keeps the fabric from shifting while sewing. Take your time to pin evenly for smooth seams.
Stitching Techniques
Use a sewing machine or sew by hand with a needle and thread. Sew along the pinned edges with a straight stitch. Keep the seam allowance about half an inch wide. Backstitch at the start and end to secure the stitches. Sew slowly to maintain a straight line and avoid puckering.
Adding A Closure
Choose a closure type such as a zipper, buttons, or envelope flap. For zippers, sew it along one edge before stitching the rest. Buttons need buttonholes sewn on one side and buttons on the other. An envelope flap requires overlapping fabric pieces for easy insertion. Pick the closure that fits your style and skill level.
Credit: www.sparklesofsunshine.com
Finishing Touches
Finishing touches give your throw pillow covers a neat and polished look. These small steps make a big difference in the final product. They help the cover last longer and look professionally made. Pay close attention to the details. They show your care and effort.
Trimming Threads
Cut off any loose or hanging threads carefully. Use sharp scissors for a clean cut. This step prevents the threads from catching or unraveling later. Check all seams and edges for stray threads. A tidy finish makes your pillow cover look crisp and clean.
Ironing Seams
Press the seams flat with an iron. Use the right heat setting for your fabric type. Ironing removes wrinkles and helps seams lay smoothly. This step shapes the cover and gives it a sharp appearance. Press both sides of the seam for best results.
Creative Design Ideas
Creative design ideas can turn plain throw pillow covers into stylish home accents. Simple changes make big differences in how your pillows look. Experimenting with colors, textures, and patterns adds personality to any room. Try unique touches that reflect your style and brighten your space.
Using Patterns And Prints
Patterns and prints give pillow covers a fresh and lively look. Stripes, polka dots, or florals bring energy to your sofa or bed. Choose prints that match your room’s colors. Mix large and small patterns for balance. Printed fabric is easy to find and cuts sewing time.
Adding Embellishments
Embellishments add charm and texture to pillow covers. Sew on buttons, tassels, or ribbons for a fun twist. Fabric paint or patches create custom designs. Embellishments make covers feel special and unique. Keep them simple for daily use or bold for a statement piece.
Mixing Fabrics
Mixing fabrics creates depth and interest in pillow covers. Combine smooth cotton with soft velvet or rough burlap. Different textures catch the eye and add comfort. Use contrasting colors or matching tones to unify the design. Fabric mixing lets you explore creativity without extra cost.
Care And Maintenance
Taking care of throw pillow covers keeps them looking fresh and lasts longer. Proper care and maintenance help protect the fabric and colors. Simple steps can make a big difference in preserving your pillow covers.
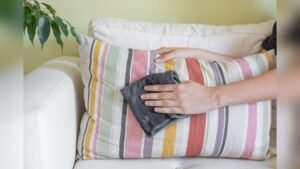
Washing Tips
Check the fabric label before washing pillow covers. Use cold water to prevent shrinking and fading. Choose a gentle cycle on your washing machine. Hand washing works best for delicate fabrics. Avoid harsh detergents that can damage the fibers. Air dry pillow covers by laying them flat or hanging them. Avoid direct sunlight to keep colors bright. Iron on low heat if needed, following fabric instructions.
Storing Pillow Covers
Keep pillow covers clean before storing to avoid stains. Fold them neatly to prevent wrinkles and creases. Store pillow covers in a cool, dry place. Use breathable bags or containers to protect from dust. Avoid plastic bags that trap moisture and cause mildew. Add a lavender sachet or cedar block to keep pests away. Check stored covers regularly to ensure they stay fresh.

Credit: thecraftingnook.com
Frequently Asked Questions
How Do You Measure Fabric For Throw Pillow Covers?
Measure the pillow’s width, height, and depth. Add 1-2 inches for seam allowance. This ensures a perfect fit and neat finish.
What Materials Are Best For Making Throw Pillow Covers?
Cotton, linen, and velvet are popular. Choose durable, washable fabrics for easy care and lasting comfort.
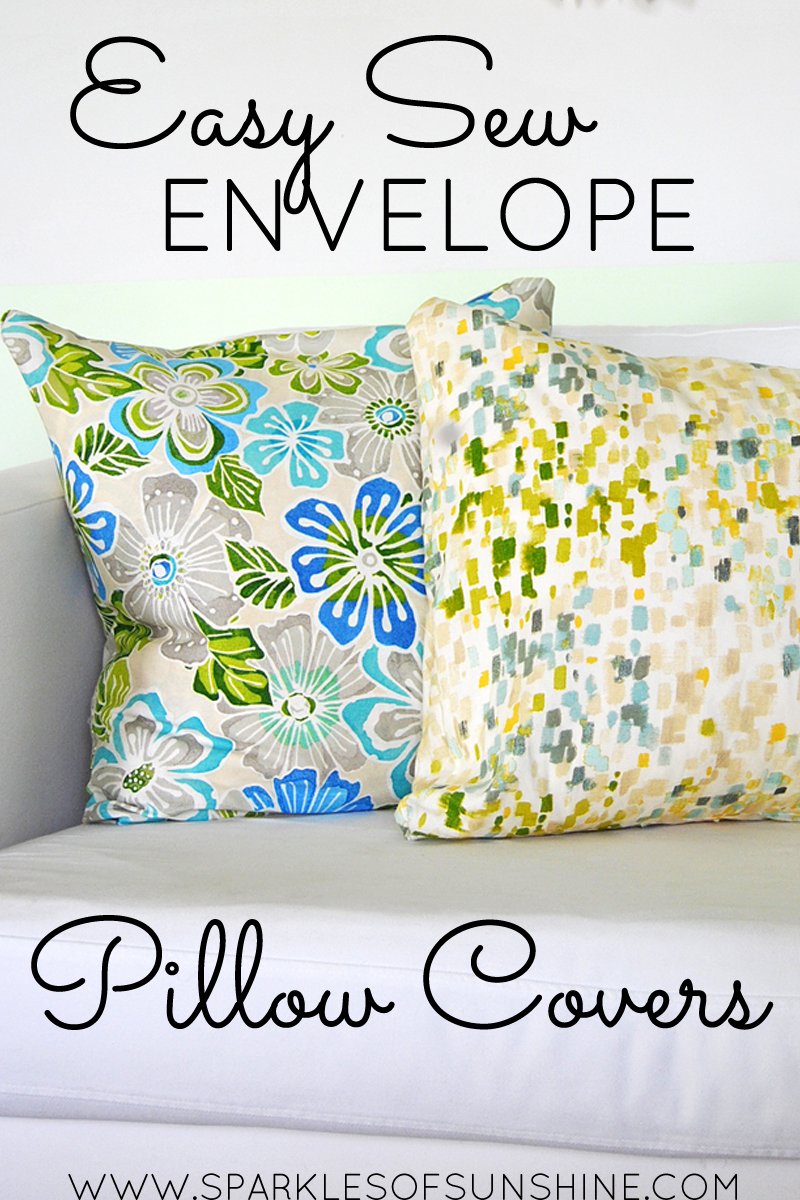
How Do You Sew A Simple Envelope Pillow Cover?
Cut fabric larger than pillow size. Fold edges, sew three sides, and leave one open. Overlap fabric edges to close.
Can You Make Throw Pillow Covers Without A Sewing Machine?
Yes, use fabric glue or iron-on adhesive tape. Hand-stitching with a needle and thread also works for durability.
Conclusion
Making throw pillow covers is fun and simple to do. You only need a few materials and some basic sewing skills. Choose fabric that fits your style and room colors. Cut, sew, and add closures like zippers or buttons. This project lets you change your decor anytime.
It saves money and adds a personal touch. Try different fabrics and patterns to match your mood. Making your own covers gives you pride and creativity. Start small, and enjoy the process step by step. Your home will feel fresh and cozy with new pillow covers.
As an Amazon Associate, I earn from qualifying purchases.