
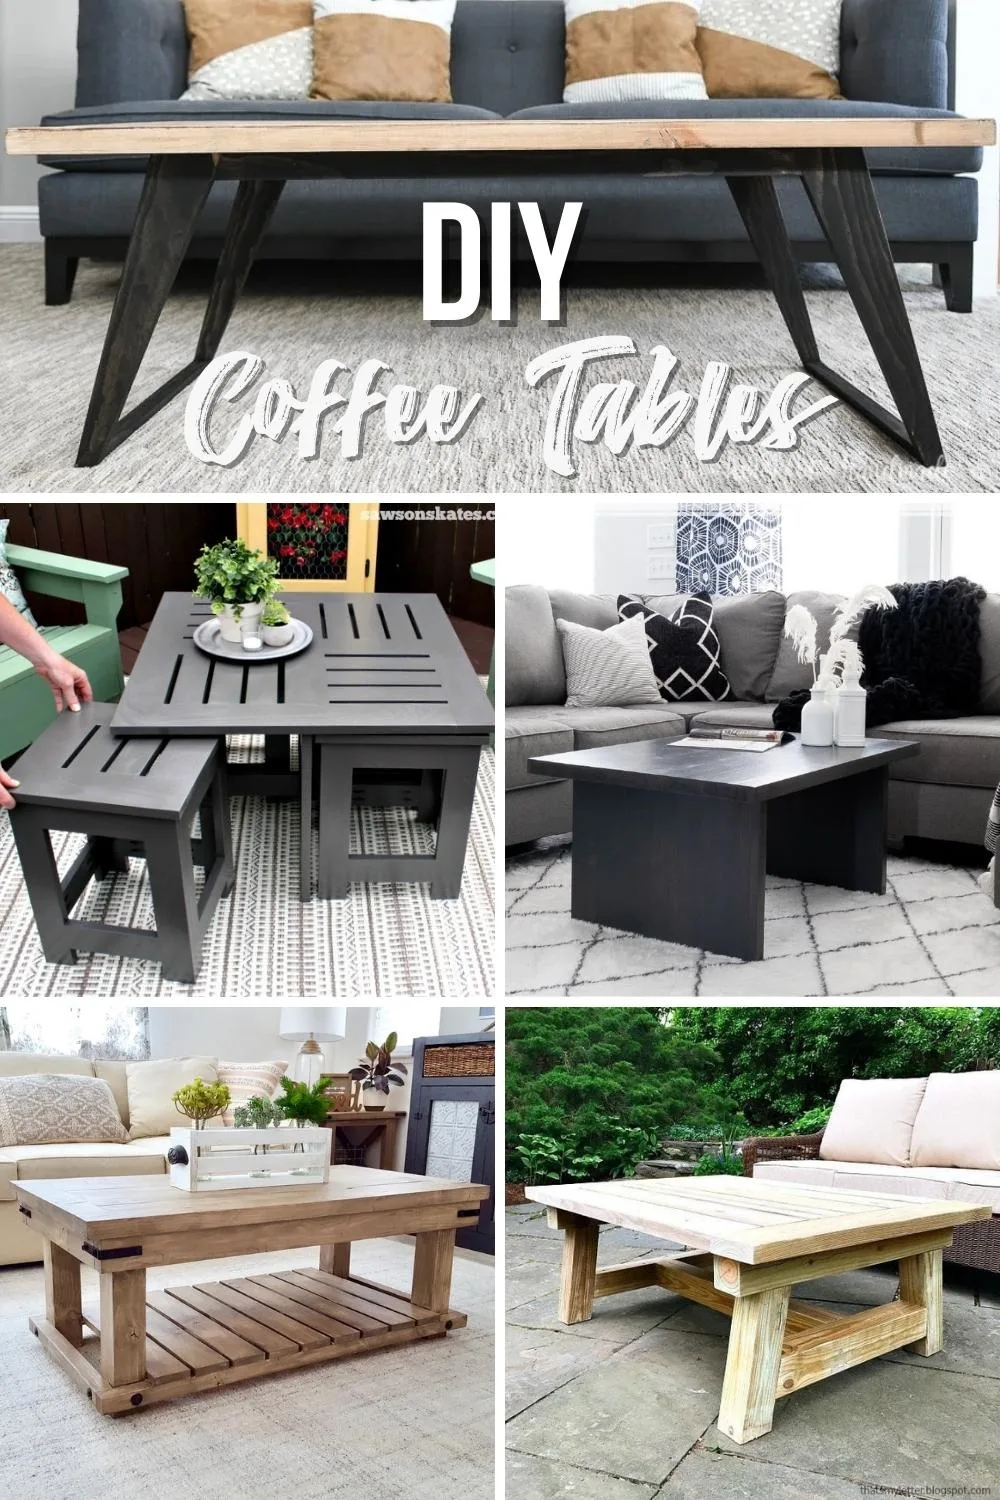
Looking to create a stunning coffee table that fits your style and space perfectly? You don’t have to wait for the right piece to show up in stores or spend a fortune on custom furniture.
With these easy do it yourself coffee table plans, you can build a beautiful, functional centerpiece for your living room all by yourself. Imagine the pride you’ll feel when your guests admire a table you crafted with your own hands.
Ready to get started? Let’s dive into simple steps that will make your DIY coffee table project a rewarding success.
Credit: www.bobvila.com
Choosing The Right Design
Choosing the right design for your DIY coffee table sets the tone for your living space. It affects both style and function. Think about your room’s look and your daily needs. A perfect coffee table fits the room size and matches your style. Focus on designs that feel right for your home. Consider the materials, shapes, and colors that you like best.
Modern Minimalist Styles
Modern minimalist coffee tables have clean lines and simple shapes. They use neutral colors like white, black, or gray. These tables fit well in small and large rooms. They keep the space feeling open and calm. Minimalist designs avoid extra details. They focus on function and style in a simple way. Choose this style for a fresh, uncluttered look.
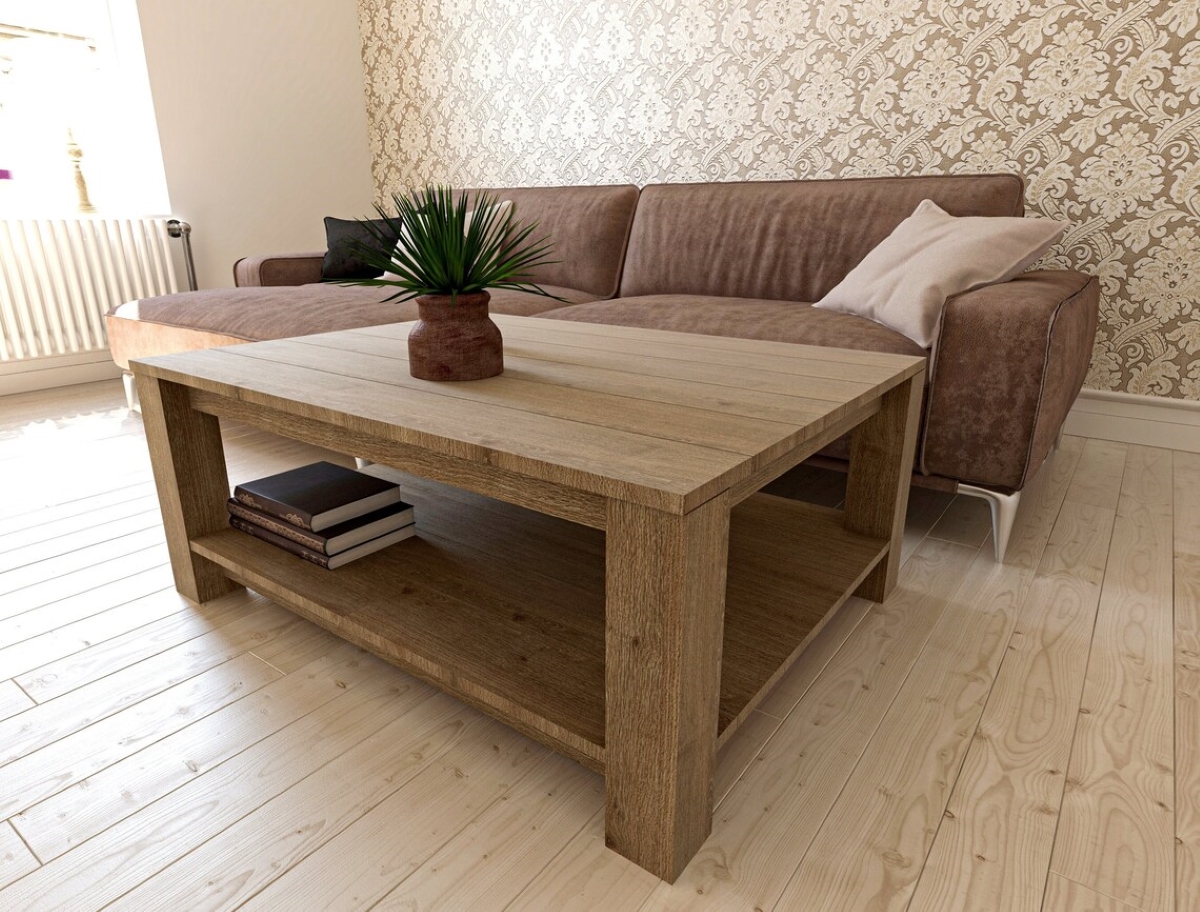
Rustic And Vintage Looks
Rustic coffee tables bring warmth and charm to any room. They often use wood with natural textures and finishes. Vintage designs include details like distressed paint or metal accents. These tables add character and a cozy feel. They work well in farmhouse or traditional homes. Pick rustic styles to create a welcoming and lived-in atmosphere.
Space-saving Ideas
Small rooms need smart space-saving coffee tables. Look for designs with storage, like drawers or shelves. Some tables fold or stack to save room. Others combine seating and table space. These ideas keep your area tidy and functional. Space-saving tables work best in apartments or small homes. Choose one that fits your lifestyle and space limits.
Selecting Materials
Selecting the right materials is a key step in building a DIY coffee table. The materials affect the table’s look, strength, and cost. Choose materials that fit your style and skill level. Quality materials make your project easier and the result better.
Types Of Wood
Wood is the most popular choice for coffee tables. Pine is soft and easy to work with. Oak is hard, strong, and lasts long. Maple is smooth and looks clean. Walnut has a rich, dark color. Each wood type has a different price and finish. Pick wood that matches your room and budget.
Alternative Materials
Wood is great, but other materials work too. Plywood is cheaper and lighter. It needs good finishing to look nice. Reclaimed wood gives a rustic, unique look. Metal can add a modern touch. Glass tops look stylish but need care. Mix materials for a custom design.
Tools You Will Need
Basic tools help you cut, join, and finish materials. A saw is essential to cut wood pieces. Sandpaper smooths rough edges. A drill helps make holes for screws. Clamps hold parts tight during assembly. Wood glue adds strength to joints. A measuring tape and pencil keep measurements exact.
Preparing Your Workspace
Preparing your workspace is the first step in building a DIY coffee table. A clean and organized area helps you work faster and better. It also keeps your project safe and smooth. Spend time setting up your space before starting.
Safety Precautions
Safety is very important. Wear safety glasses to protect your eyes from dust and wood chips. Use gloves to keep your hands safe from splinters and sharp tools. Make sure your workspace has good lighting. Keep a first aid kit nearby. Always work in a well-ventilated area. Avoid loose clothes that can get caught in tools.
Organizing Tools And Materials
Gather all tools and materials before you start. Place tools where you can reach them easily. Sort nails, screws, and other small parts in containers. Keep your wood pieces stacked neatly. Clear away unnecessary items from your workspace. Organizing saves time and reduces mistakes. It helps you focus on building your coffee table.
Cutting And Shaping Wood
Cutting and shaping wood is a key step in building your own coffee table. This stage gives your project its form and style. Accurate cutting and smooth shaping make the table strong and nice to look at. Proper tools and careful work help avoid mistakes. Take your time to measure and cut carefully. This way, you will get pieces that fit well together.
Measuring And Marking
Start by measuring the wood pieces carefully. Use a tape measure for precise lengths. Mark the cutting lines clearly with a pencil. Double-check your marks before cutting. Use a square tool to keep lines straight. Clear marks guide your cuts and reduce errors. Accurate measuring saves wood and effort later.
Using Saws And Sanders
Choose the right saw for each cut. A handsaw works well for small cuts. For straight cuts, a circular saw is faster and cleaner. Cut slowly to avoid splintering the wood. After cutting, use a sander to smooth edges. Sanding removes rough spots and sharp corners. It also prepares the wood for finishing. Smooth wood feels better and looks more polished.
Assembling The Table
Assembling the coffee table is an exciting step in your DIY project. It brings all the pieces together. Careful assembly ensures the table is strong and looks great. Follow the instructions closely for best results. Take your time and enjoy the process.
Joining Techniques
Choose the right joining method for your table parts. Common techniques include screws, dowels, and wood glue. Screws hold pieces tightly and are easy to use. Dowels create strong joints that hide fasteners. Wood glue adds extra strength when used with other methods. Use clamps to hold parts while glue dries. Proper joining prevents wobbling and keeps the table sturdy.
Securing Parts Together
Start by aligning all parts carefully. Check edges and corners for a perfect fit. Use a drill to make pilot holes for screws. This stops wood from splitting. Tighten screws evenly to avoid damage. Remove excess glue with a damp cloth before it dries. Let the table rest to ensure all joints set well. Secured parts make the table durable and safe to use.
Finishing Touches
Finishing touches bring your DIY coffee table to life. They improve the look and protect the wood. Careful finishing makes your table last longer. These final steps give your project a polished, professional feel.
Sanding And Smoothing
Start by sanding the entire table surface. Use fine-grit sandpaper for a smooth finish. Sand along the wood grain to avoid scratches. Remove all dust with a soft cloth. Smooth wood helps paint or stain stick better. It also feels nice to touch.
Painting And Staining
Choose paint or stain based on your style. Paint adds color and covers imperfections. Stain highlights the natural wood grain. Apply thin, even coats with a brush or cloth. Let each coat dry fully before the next. Seal with a clear finish to protect your work.
Adding Decorative Elements
Decorative touches make your table unique. Add metal corners or decorative nails for charm. Use stencils to create patterns or designs. Attach a glass top for a modern look. Keep decorations simple to avoid clutter. These small details show your personal style.
Maintenance Tips
Maintaining your DIY coffee table keeps it beautiful and strong for years. Regular care protects the wood and finish. Small fixes stop damage from growing worse. This section shares simple tips to clean and repair your coffee table.
Cleaning And Care
Dust your coffee table often with a soft cloth. Use a damp cloth for sticky spots. Avoid harsh chemicals that can harm the wood. Dry the surface well after cleaning. Use coasters to prevent water rings. Keep the table away from direct sunlight. This stops fading and cracking. Polish the wood with a mild wax once in a while. It keeps the surface shiny and smooth.
Repairing Minor Damages
Scratches and dents happen easily. Fix small scratches by rubbing a walnut or a crayon that matches the wood color. For dents, place a damp cloth on the spot and iron it gently. This helps wood fibers to rise back. Use wood filler for deeper holes or chips. Sand the area lightly after it dries. Finish with a matching stain or paint. Tighten loose screws or joints to keep the table steady. Quick repairs extend your coffee table’s life.

Credit: www.fwmadebycarli.com
Credit: www.thehandymansdaughter.com
Frequently Asked Questions
What Tools Do I Need For Diy Coffee Table Plans?
You need basic woodworking tools like a saw, drill, measuring tape, and screwdriver. Sandpaper and clamps also help. Having safety gear is essential.
How Long Does It Take To Build A Coffee Table?
Most DIY coffee tables take 4 to 8 hours to build. Time varies based on design complexity and skill level.
What Materials Are Best For A Diy Coffee Table?
Wood like pine, oak, or plywood is ideal. Choose materials that fit your style and budget.
Can Beginners Build A Coffee Table Easily?
Yes, beginners can build simple designs with clear instructions. Start with easy plans to build confidence.
Conclusion
Building your own coffee table brings pride and style to your home. Plans guide you step-by-step for a smooth process. You control the design, size, and finish. It saves money compared to buying ready-made furniture. Plus, crafting sharpens your skills and creativity.
Take your time and enjoy each part of the project. Soon, you will have a unique table made by your own hands. A simple idea turns into a special piece everyone will admire. Try it, and see how rewarding DIY can be.
As an Amazon Associate, I earn from qualifying purchases.