
Are you tired of searching for the perfect nightstand that fits your style and space? What if you could create one yourself, tailored exactly to your needs?
Building your own nightstand is easier than you think, and it gives you full control over design, size, and materials. Imagine having a unique piece that not only complements your bedroom but also brings a sense of pride every time you see it.
In this guide, you’ll discover simple steps and helpful tips to build a nightstand that’s both beautiful and functional. Ready to transform your bedroom and impress yourself with your skills? Let’s get started!
Choosing Materials
Choosing the right materials is key to building a strong and stylish nightstand. Materials affect how your nightstand looks and how long it lasts. Picking good wood, the right hardware, and proper finishes will help create a piece you enjoy for years.
Think about where you will place the nightstand and how much use it will get. These details guide your material choices. Quality materials make your work easier and your nightstand better.
Types Of Wood
Wood is the main material for a nightstand. Hardwoods like oak, maple, and cherry are strong and last a long time. They have a nice grain and finish well. Softwoods such as pine are easier to work with but may dent more easily. Choose wood that fits your budget and skill level. Consider wood that matches your room’s style.
Hardware And Tools
Hardware includes screws, nails, hinges, and drawer slides. Use rust-resistant hardware for durability. Good tools make building easier and safer. Basic tools include a saw, drill, screwdriver, and measuring tape. Select tools that suit your project size and your experience. Quality hardware keeps your nightstand stable and functional.
Finishes And Paints
Finishes protect wood from damage and wear. Clear finishes like varnish or polyurethane show the wood’s natural beauty. Paint adds color and can hide imperfections. Choose water-based paints for easy cleanup and low odor. Test finishes on scrap wood to see the final look. Proper finishing keeps your nightstand looking fresh for longer.
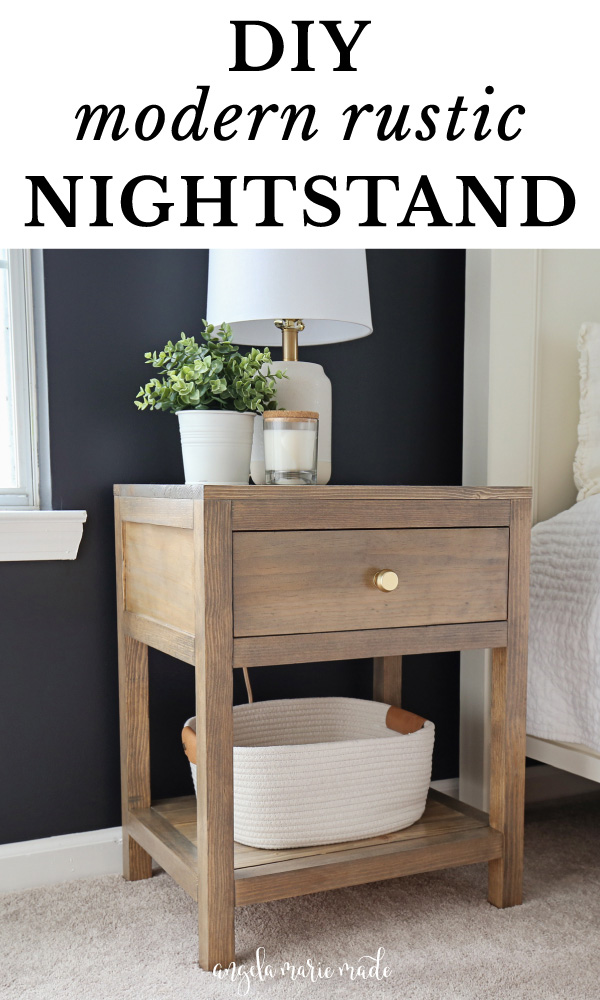
Credit: angelamariemade.com
Design Ideas
Design ideas for night stands offer many choices to fit your bedroom. A good night stand combines style and function. It should match your room’s look. Consider the materials, colors, and shapes. Think about how you use your night stand. This helps pick the best design for your space.
Modern Styles
Modern night stands have clean lines and simple shapes. They often use materials like metal, glass, or smooth wood. These stands usually have a sleek look without extra details. They fit well in rooms with a minimal or contemporary theme. Choose neutral colors like white, black, or gray. A modern night stand looks neat and uncluttered.
Rustic Looks
Rustic night stands use natural wood and rough textures. They bring warmth and charm to the room. These stands may show knots and wood grain. They fit well in cozy or country-style bedrooms. Colors are often earthy tones like brown, tan, or green. A rustic night stand feels handmade and inviting.
Space-saving Options
Small rooms need night stands that save space. Look for slim or wall-mounted designs. Some have shelves or drawers for extra storage. Multi-functional stands can hold books, lamps, or phones. Choose light colors to make the room feel larger. Space-saving night stands keep your room neat and open.
Preparing Your Workspace
Preparing your workspace is the first step in building night stands. A clean and organized area helps you work faster and safer. It also reduces mistakes and frustration. Spend time setting up the right environment before starting.
Safety Measures
Safety is very important. Wear safety glasses to protect your eyes from dust and wood chips. Use ear protection if you operate loud tools. Keep a first aid kit nearby. Avoid loose clothing that can get caught in machines. Make sure your workspace has good lighting and ventilation.
Organizing Tools
Arrange your tools within easy reach. Group similar tools together, like saws, drills, and sanders. Use a toolbox or pegboard to keep them tidy. Check that all tools are clean and in good condition. Sharp blades and bits work better and are safer.
Setting Up Materials
Sort your wood pieces by size and type. Place them close to your workbench. Check for any defects like knots or cracks. Prepare screws, nails, and glue in small containers. This keeps everything ready and saves time during building.
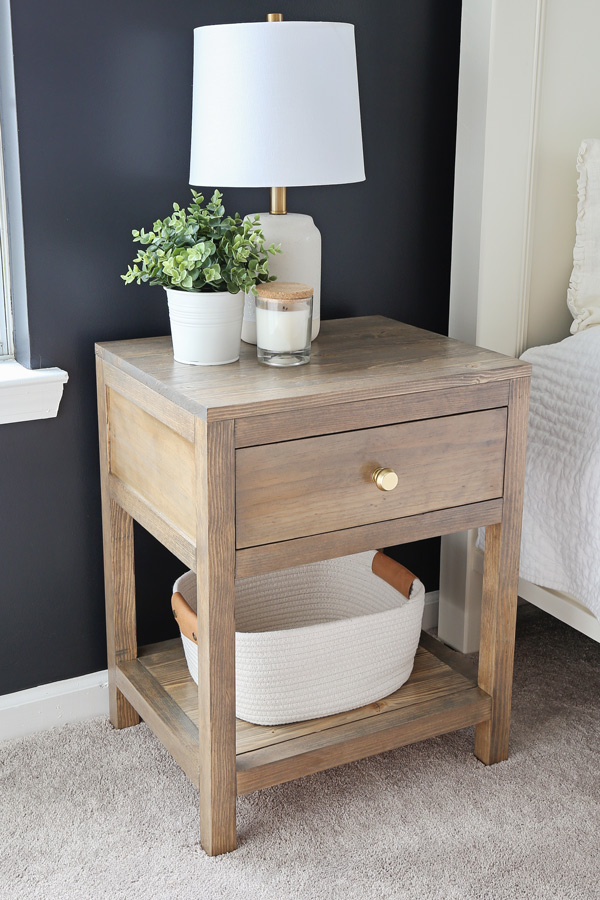
Credit: angelamariemade.com
Cutting And Assembling
Cutting and assembling are important steps in building nightstands. These steps shape your wood pieces and join them together. Precise cutting ensures all parts fit well. Good assembly makes the nightstand strong and stable. Follow careful measuring, clean cutting, and solid joining for best results.
Measuring And Marking
Start by measuring each wood piece carefully. Use a tape measure for accuracy. Mark the cut lines with a pencil. Double-check your marks before cutting. Clear, straight lines help guide your saw. Mark all parts to avoid confusion later.
Cutting Techniques
Use a saw that fits your wood type. A handsaw works for small cuts. A circular saw is faster for big pieces. Cut slowly along your marked lines. Keep the saw steady and straight. Smooth edges reduce sanding later. Wear safety glasses and work in a safe place.
Joining Pieces
Place wood parts in correct order. Use wood glue on edges for strong bonds. Clamp pieces tightly until glue dries. Add screws or nails for extra support. Countersink screws for a clean look. Check that corners are square before glue sets. This keeps your nightstand sturdy and neat.
Sanding And Finishing
Sanding and finishing are key steps in building night stands. They give the wood a smooth surface and protect it from damage. Proper sanding removes rough spots and splinters. Finishing adds color and shine, making the night stand look great. These steps help the furniture last longer and look professional.
Sanding Tips
Start sanding with coarse sandpaper to smooth rough areas. Use a sanding block for even pressure. Sand along the wood grain to avoid scratches. Switch to finer sandpaper for a smooth finish. Remove dust with a cloth before finishing. Take time to sand corners and edges carefully.
Applying Stain Or Paint
Choose a stain or paint that matches your style. Apply thin, even coats with a brush or cloth. Let each coat dry fully before adding another. Stain shows the wood grain, while paint covers it. Test the color on a scrap piece first. Avoid heavy layers to prevent drips and uneven spots.
Protective Coatings
Protective coatings seal and guard the night stand. Use clear varnish, polyurethane, or wax for durability. Apply with a clean brush in thin layers. Let each layer dry and sand lightly between coats. This step prevents scratches and water damage. A good coating keeps the finish looking fresh for years.
Adding Storage Features
Adding storage features to your night stand makes it more useful and organized. Storage helps keep your bedroom tidy and items easy to reach. You can customize storage to fit your needs and style.
Think about what you need to store. Books, glasses, chargers, or small items. Plan the storage space accordingly. Drawers, shelves, and compartments are common options. Each adds a different type of storage.
Drawers Installation
Drawers keep items hidden and dust-free. Measure the space carefully before cutting. Use smooth drawer slides for easy opening and closing. Attach drawer fronts that match your night stand style. Secure handles or knobs for a neat finish.
Shelves And Compartments
Shelves provide open storage for books or decorations. Add vertical dividers to create compartments. Compartments help organize smaller items like remotes or chargers. Use strong wood or boards for sturdy shelves. Fix shelves at different heights for variety.
Decorative Hardware
Hardware adds style and function. Choose knobs and handles that fit your room’s look. Metal, wood, or ceramic options work well. Attach hardware firmly to drawers and doors. Small details can change the entire appearance.
Final Touches
Final touches bring your nightstand to life. These small steps make a big difference. They improve look and function. Focus on stability, style, and care for lasting use.
Attaching Legs Or Casters
Choose legs or casters that fit your room style. Secure them firmly to the nightstand base. Use screws or bolts for strong support. Check that legs are even for balance. Casters add easy movement but lock tight when still.
Decorative Accents
Decorative accents add charm and personality. Consider knobs, handles, or trim pieces. Pick colors and shapes that match your decor. Paint or stain can highlight wood grain. Keep accents simple to avoid clutter.
Maintenance Tips
Regular care keeps your nightstand looking new. Dust with a soft cloth every week. Use wood polish to protect the surface. Avoid placing wet items directly on it. Tighten screws and check legs often for safety.
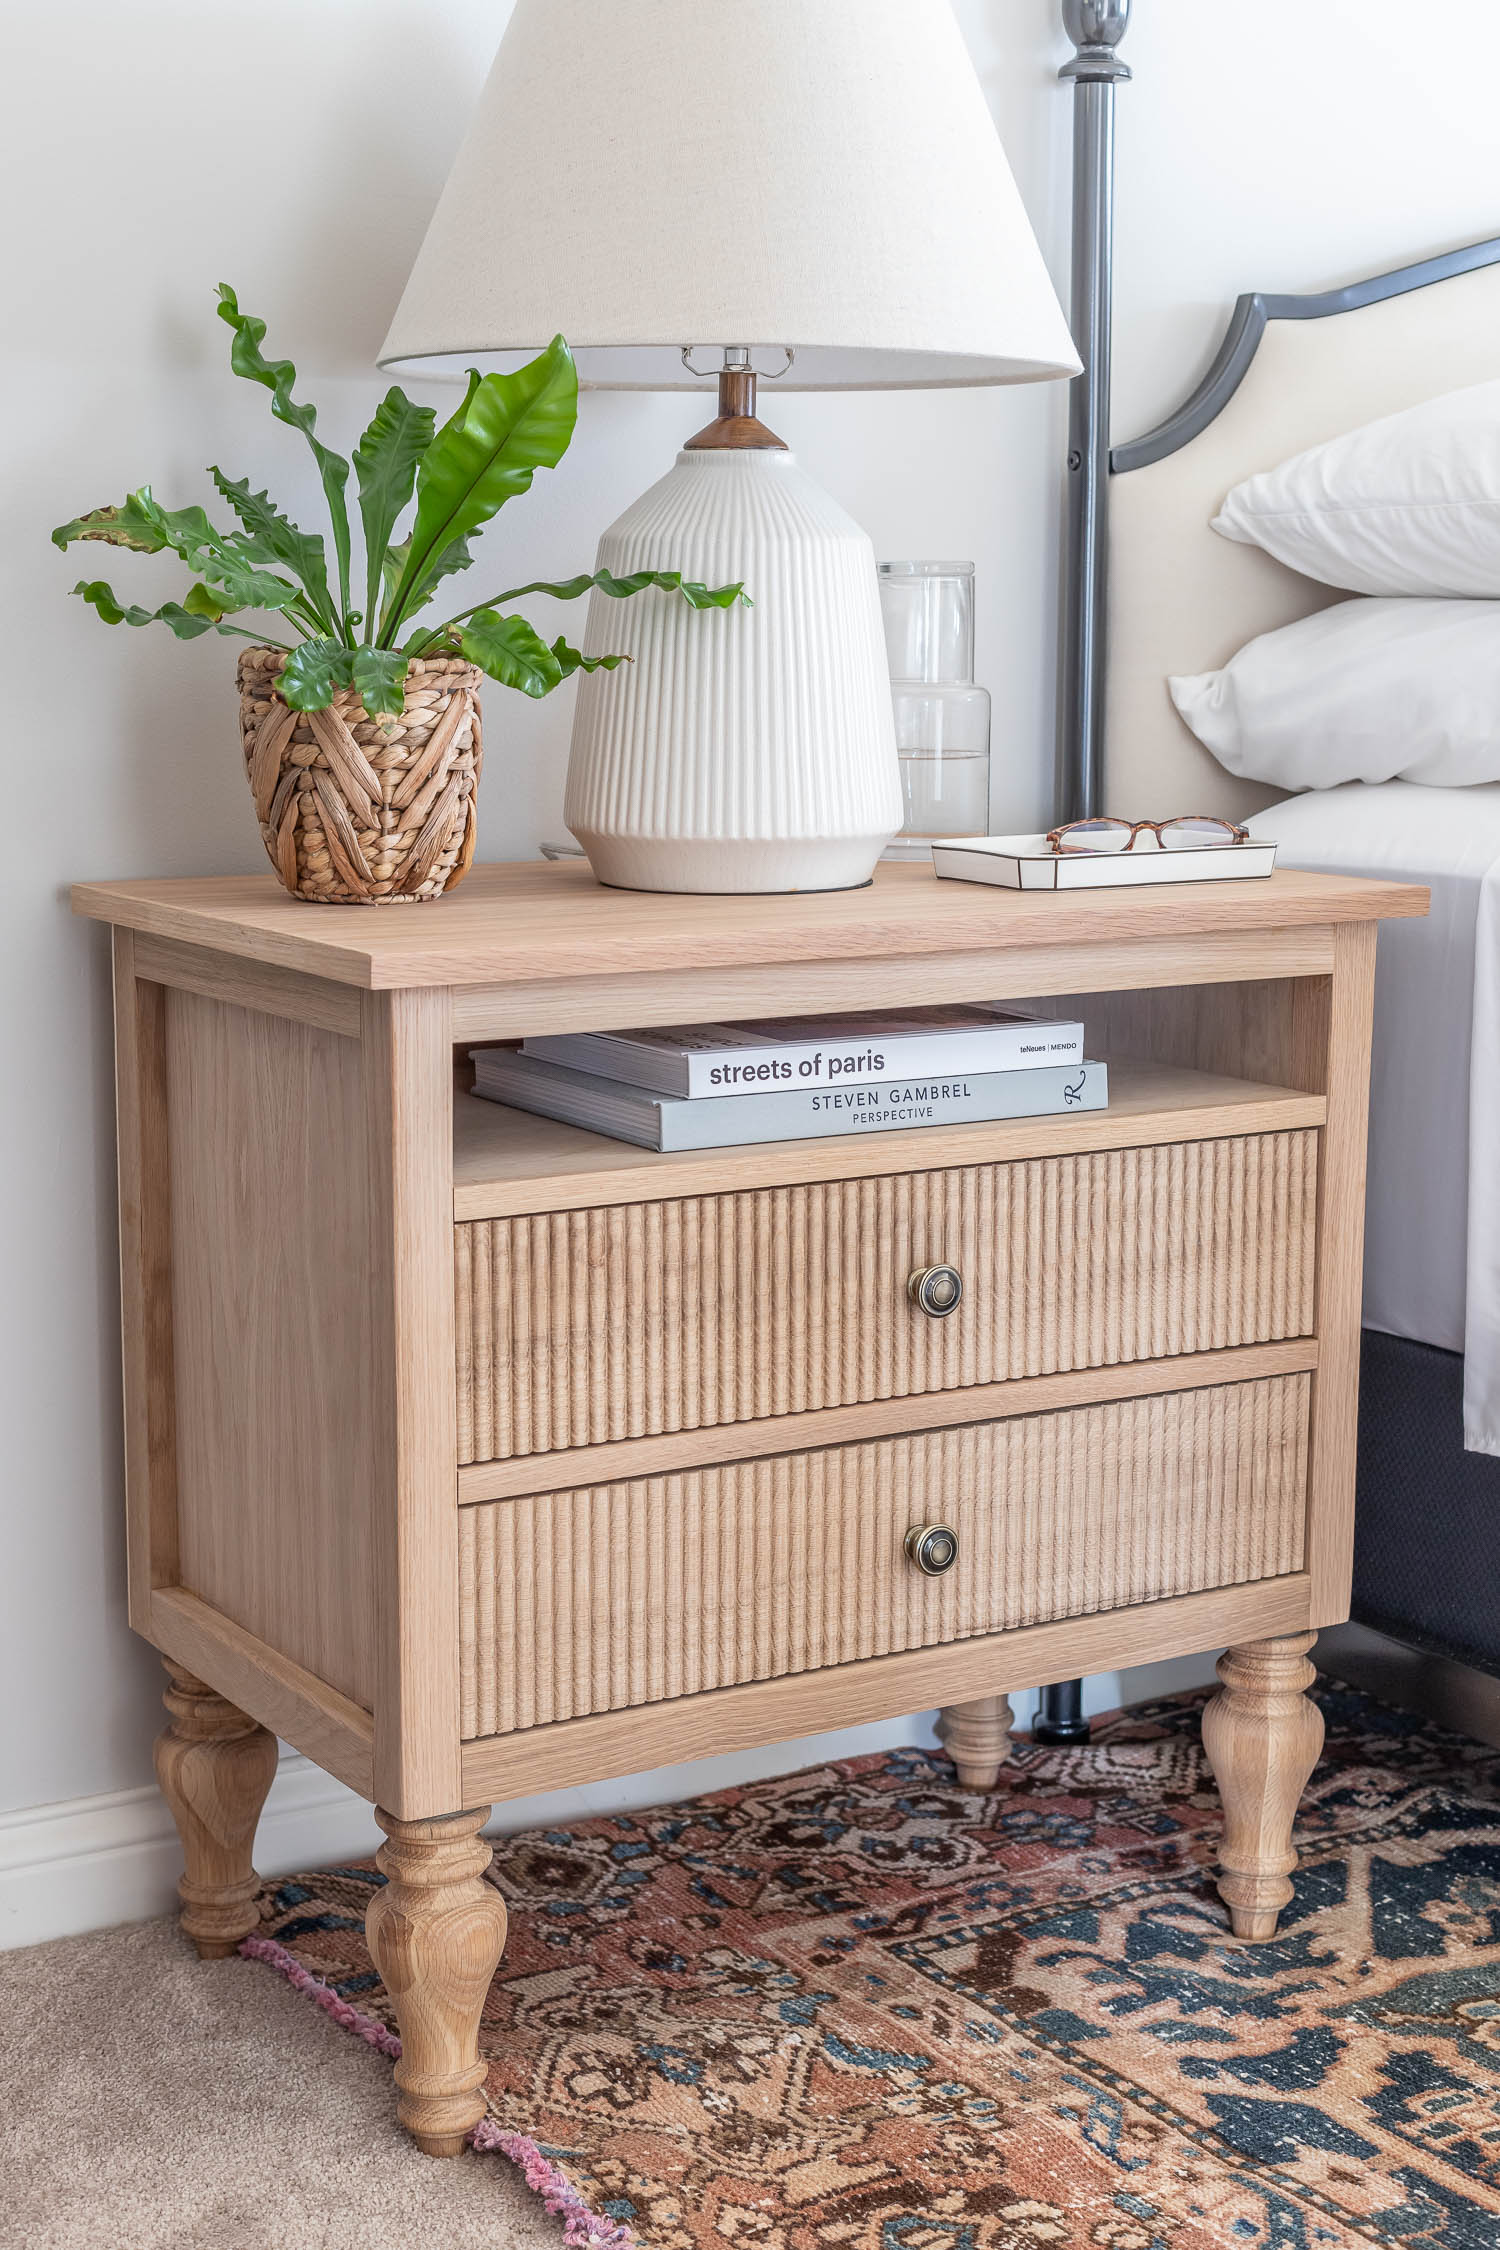
Credit: jenwoodhouse.com
Frequently Asked Questions
What Tools Do I Need To Build Night Stands?
You need basic woodworking tools like a saw, drill, screwdriver, measuring tape, clamps, and sandpaper. These tools help cut, assemble, and finish your night stand effectively.
What Type Of Wood Is Best For Night Stands?
Solid hardwoods like oak, maple, or cherry are best for durability. Softwoods like pine are budget-friendly but less durable. Choose wood based on your style and budget.
How Long Does It Take To Build A Night Stand?
Building a night stand typically takes 4 to 8 hours. Time varies depending on design complexity, skill level, and drying time for finishes.
Can Beginners Build Night Stands Easily?
Yes, beginners can build simple night stands with basic woodworking skills. Start with easy designs and follow step-by-step instructions for best results.
Conclusion
Building night stands can be simple and rewarding. Use the right tools and follow clear steps. Choose materials that fit your style and budget. Take your time to measure and cut carefully. Adding personal touches makes your night stand unique.
Enjoy the satisfaction of creating something useful. Keep practicing to improve your woodworking skills. Soon, you’ll build furniture with confidence and pride.
As an Amazon Associate, I earn from qualifying purchases.