
Are you looking for more space to store your clothes? A freestanding wardrobe closet can help. It is a simple piece of furniture. You can build it yourself. This guide will show you how to make one step by step. No hard words. Just easy directions anyone can follow.
What Is a Freestanding Wardrobe Closet?
A freestanding wardrobe closet is a closet you can move. It stands on its own. You do not need to fix it to a wall. It is great if you rent a home or want to change your room layout. You can store clothes, shoes, and other things inside it.
Why Build Your Own Wardrobe Closet?
- You choose the size and style you want.
- It can save money compared to buying one.
- You learn new skills like measuring and building.
- You can fix or change it anytime.
What You Will Need
Before you start, gather these tools and materials:
| Materials | Tools |
|---|---|
| Wood boards (plywood or pine) | Measuring tape |
| Screws and nails | Screwdriver or drill |
| Wood glue | Hammer |
| Sandpaper | Saw (hand or electric) |
| Wood paint or varnish | Paintbrush |
| Hinges (if you want doors) | Level tool |
| Handles or knobs | Clamps (optional) |
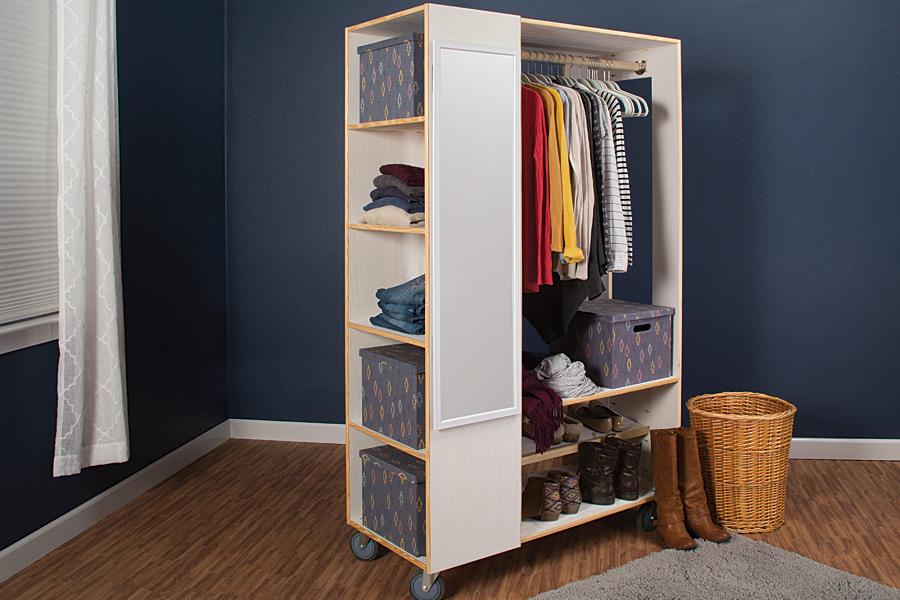
Credit: learn.kregtool.com
Step 1: Plan Your Wardrobe Closet
Start by deciding the size you want. Think about your room space. How many clothes do you have? Do you want shelves or hanging rods? Write down your ideas. Draw a simple sketch. This will help you later.
Here is an easy plan to follow:
- Height: About 6 feet (180 cm)
- Width: About 3 feet (90 cm)
- Depth: About 2 feet (60 cm)
- One hanging rod
- Two or three shelves
- Two doors with handles
Step 2: Measure and Cut the Wood
Measure your wood boards carefully. Use the tape measure to mark the pieces you need. You will need:
- Two side panels (6 ft x 2 ft)
- Top panel (3 ft x 2 ft)
- Bottom panel (3 ft x 2 ft)
- Back panel (6 ft x 3 ft)
- Shelves (3 ft x 2 ft) – number depends on your plan
- Doors (6 ft x 1.5 ft each if two doors)
Cut the wood pieces using a saw. Ask an adult to help if you need. Make sure the cuts are straight. Sand the edges to make them smooth. This helps the wood look nice and safe to touch.
Step 3: Assemble the Frame
Now, put the side panels, top, and bottom together. Use wood glue where the boards meet. This makes the frame strong. Then, use screws or nails to fix the boards. Check with a level tool to keep everything straight.
Next, attach the back panel. It keeps the frame steady. Use screws to fix it well. The frame should look like a big box now.
Step 4: Add Shelves and Hanging Rod
Decide where to place shelves inside. Mark the spots on the side panels. Attach small wooden strips or shelf supports. Place the shelves on these supports. Fix them with screws or nails.
For the hanging rod, fix two wooden supports on the side panels near the top. Put a metal or wooden rod between them. Make sure it is strong to hold clothes.
Step 5: Prepare and Attach Doors
If you want doors, you need hinges and handles. Fix hinges on one side of each door. Then, attach the doors to the wardrobe frame. Use screws to make sure doors open and close easily.
Fix handles or knobs on the doors. Place them at a comfortable height. This makes opening the doors easy.
Step 6: Finishing Touches
Sand the entire wardrobe again. This removes rough spots. Wipe the dust with a clean cloth. Now, paint or varnish the wardrobe. Choose a color that matches your room. Paint in thin layers. Let each layer dry before the next.
Once dry, your wardrobe is ready to use.
Tips for a Better Wardrobe
- Use strong wood for better durability.
- Make sure screws are tight to avoid wobbling.
- Use clamps to hold wood while glue dries.
- Measure twice before cutting to avoid mistakes.
- Ask for help if you are new to building.
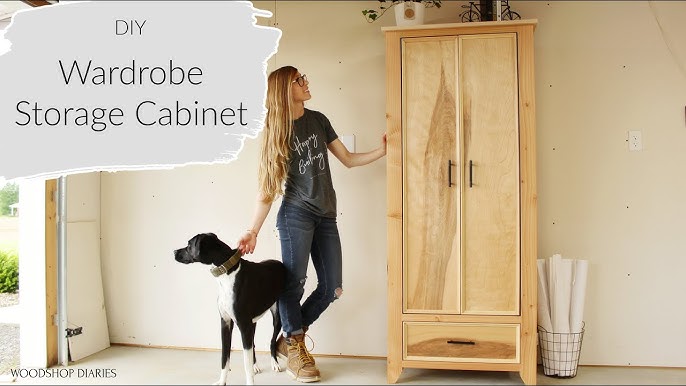
Credit: www.youtube.com
Benefits of a Freestanding Wardrobe Closet
A freestanding wardrobe closet is flexible. You can move it when you want. It does not hurt your walls. It can fit small or big rooms. You get more storage space. It looks nice and keeps your room tidy.
Plus, building it yourself feels good. You see your work come alive. It is a project you can be proud of.
Common Mistakes to Avoid
- Using wrong measurements for wood pieces.
- Not sanding edges well enough.
- Skipping the back panel, which weakens the frame.
- Not checking for level and square during assembly.
- Forgetting to let paint dry between coats.
Frequently Asked Questions
What Materials Do I Need For A Freestanding Wardrobe Closet?
You need wood panels, screws, nails, hinges, handles, and a saw. Measuring tape and a drill also help.
How Much Space Is Required For Building A Wardrobe?
Allow at least 3 to 4 feet in width and 2 feet depth. This space fits most freestanding wardrobes comfortably.
Can I Build A Wardrobe Without Professional Skills?
Yes, simple wardrobe designs are beginner-friendly. Follow step-by-step guides and use basic tools carefully.
How Long Does Building A Wardrobe Usually Take?
It takes about 1 to 3 days depending on design and skill level. More complex wardrobes need extra time.
Conclusion
Building a freestanding wardrobe closet is simple. It takes planning, tools, and some time. Follow the steps carefully. Measure, cut, assemble, and finish. You will get a strong and useful closet. It saves space and keeps clothes safe.
Try it yourself. Enjoy a neat and organized room. Your new wardrobe will be a great addition.
As an Amazon Associate, I earn from qualifying purchases.