
Building a bed bench is a fun and useful project. It gives you extra seating and storage. Plus, it makes your bedroom look nice. If you want a bench but do not want to buy one, making it yourself is a great idea.
This guide will show you simple steps. You do not need to be an expert to build a bed bench. Just follow the instructions and take your time. Let’s get started!
What You Need to Build a Bed Bench
Before you start, gather all materials and tools. This will make building easy and fast. Here is a simple list of what you need:
| Materials | Tools |
|---|---|
| Wood boards (pine or plywood) | Saw (hand saw or electric saw) |
| Wood screws | Drill with drill bits |
| Wood glue | Screwdriver |
| Sandpaper | Measuring tape |
| Wood stain or paint | Paintbrush |
| Foam cushion (for the top) | Staple gun (optional) |
| Fabric to cover cushion | Clamps (optional) |

Credit: www.youtube.com
Step 1: Plan Your Bed Bench
Decide the size of your bench. Measure the space at the foot of your bed. A common size is about 48 inches long and 18 inches tall. But you can change it to fit your room.
Think about storage. Do you want a bench with a lid? Or open shelves? This guide will show you how to build a simple bench with a lid for storage.
Step 2: Cut the Wood Pieces
Use your measurements to cut the wood. You will need:
- Two side pieces (about 18 inches tall and 16 inches deep)
- One bottom piece (48 inches long and 16 inches deep)
- One back piece (48 inches long and 18 inches tall)
- One top piece (48 inches long and 16 inches deep)
Cut carefully. If you do not have a saw, some stores cut wood for free or for a small fee.
Step 3: Sand the Wood
Sand all pieces well. Sanding removes rough spots and splinters. Use medium sandpaper first, then fine sandpaper for a smooth finish. This step is important to keep the bench safe and nice.
Step 4: Assemble the Frame
Start by attaching the sides to the bottom piece. Use wood glue and screws. Pre-drill holes to stop the wood from splitting. Then attach the back piece to the sides and bottom.
Make sure the frame is square. You can use a carpenter’s square or measure the diagonals. The diagonals should be the same length.
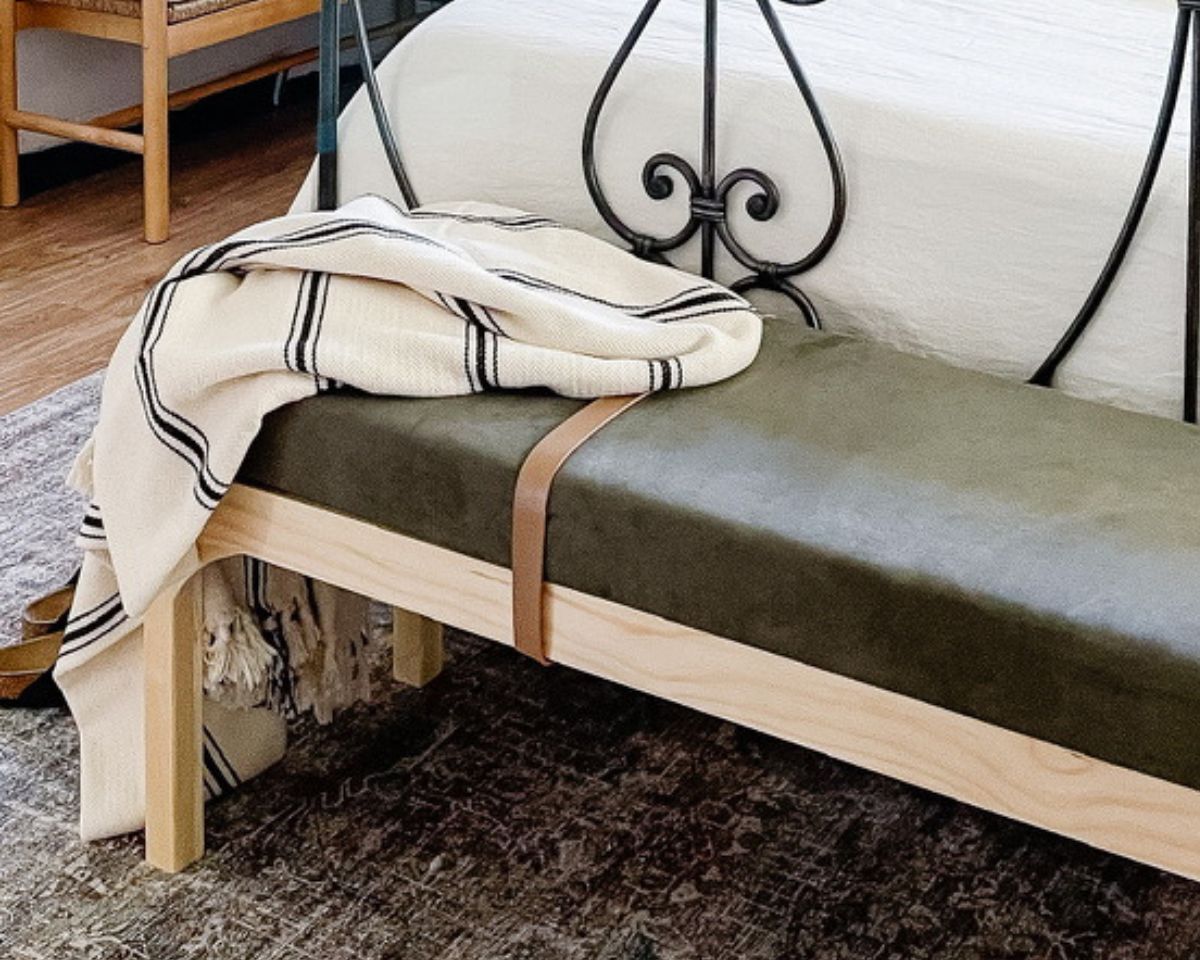
Credit: abbottabode.com
Step 5: Attach the Lid
The lid will be the top piece. You can attach it with hinges so it opens and closes.
Buy two small hinges. Screw one side of each hinge to the back edge of the top piece. Then screw the other side to the back piece of the frame.
Check if the lid opens smoothly. If needed, adjust the screws.
Step 6: Paint or Stain the Bench
Now, it is time to finish the wood. You can paint or stain it. Paint gives bright colors. Stain shows the wood grain and looks natural.
Apply one or two coats. Let it dry between coats. Use a good paintbrush and work in a well-ventilated area.
Step 7: Make the Cushion
Cut foam to fit the top of the bench. Make it about 2 to 3 inches thick for comfort. Then cover the foam with fabric.
You can use a staple gun to fix the fabric on the bottom of the foam. Pull the fabric tight but not too tight.
Place the cushion on the bench lid. You can glue it or leave it loose.
Step 8: Final Touches
Check the bench for any rough edges. Sand again if needed. Tighten any loose screws.
You can add handles to the sides of the bench. This makes moving it easier. Also, add small rubber pads under the legs to protect the floor.
Tips for Building a Bed Bench
- Take your time. Rushing can cause mistakes.
- Ask for help if you need it, especially with cutting wood.
- Choose durable wood for a strong bench.
- Use clamps to hold wood pieces when gluing.
- Wear safety glasses when using power tools.
- Keep your workspace clean and organized.
Benefits of Having a Bed Bench
A bed bench is useful and beautiful. Here are some benefits:
- Extra Seating: Sit comfortably while putting on shoes.
- Storage: Store blankets, pillows, or clothes inside.
- Room Decor: It adds style and charm to your bedroom.
- Organization: Helps keep your room tidy.
- Easy to Build: A simple project for beginners.
Summary
Building a bed bench is a great way to add function and beauty. You only need simple tools and materials. Follow these steps:
- Plan and measure your bench size.
- Cut the wood pieces carefully.
- Sand all wood surfaces smooth.
- Assemble the frame with glue and screws.
- Attach the lid using hinges.
- Paint or stain the wood.
- Make and add the cushion.
- Add final touches and check your work.
With patience and care, you will build a bench you love. It will make your bedroom more useful and nice. Happy building!
Frequently Asked Questions
What Tools Do I Need To Build A Bed Bench?
You need a saw, drill, measuring tape, screwdriver, and clamps. Sandpaper and wood glue will help finish the bench.
How Long Does It Take To Build A Bed Bench?
Building a bed bench usually takes 3 to 5 hours. Time depends on skill level and bench design.
What Type Of Wood Is Best For Bed Benches?
Pine, oak, or plywood are common choices for bed benches. They are strong, easy to work with, and affordable.
Can I Add Storage To My Bed Bench?
Yes, adding a storage compartment under the seat is common. Use hinges for easy access to the space inside.
As an Amazon Associate, I earn from qualifying purchases.