Are you ready to give your living space a quick and stylish update? Making your own throw pillow cover is easier than you think—and it lets you add a personal touch that store-bought covers just can’t match.
Imagine choosing your favorite fabric, colors, and patterns to create a pillow that fits perfectly with your style. In this guide, you’ll discover simple steps to craft a beautiful throw pillow cover that anyone can do, even if you’ve never sewn before.
Keep reading, and you’ll be surprised how satisfying—and fun—this project can be!
Materials Needed
Gathering the right materials is the first step to making a throw pillow cover. The materials you choose affect the look and feel of your pillow. You can customize your cover by selecting fabrics, tools, and decorations. Below are the key materials you need to start your project.
Fabric Choices
Choose fabric that suits your style and room decor. Cotton is soft, easy to sew, and washes well. Linen offers a natural look and feels light. Canvas is strong and works well for casual designs. Velvet adds luxury and a soft texture. Pick fabric that feels comfortable and matches your room.
Tools Required
You need basic sewing tools to make a pillow cover. A sewing machine makes stitching faster and neater. Fabric scissors cut your fabric smoothly. Pins or clips hold fabric pieces together. A measuring tape helps you get exact sizes. Thread should match or contrast your fabric. A zipper or buttons close the cover.
Optional Embellishments
Decorations add personality to your pillow cover. Trim like lace or pom-poms create fun edges. Fabric paint or markers let you add designs. Buttons or patches can bring extra color. Embroidery adds detail and texture. Choose simple embellishments for a clean look or bold ones to stand out.

Credit: www.enjoytheviewblog.com
Measuring Your Pillow
Measuring your pillow correctly is the first step in making a perfect throw pillow cover. This step ensures the cover fits snugly and looks neat. Taking accurate measurements saves time and materials. It also helps avoid mistakes during sewing. Let’s explore how to measure your pillow carefully and prepare for sewing.
Determining Size
Start by measuring the length and width of your pillow. Use a soft tape measure for best results. Measure from one edge to the other, not including any fluff or extra thickness. Note down the dimensions clearly. These numbers are the base size for your pillow cover.
Allowing For Seam Allowance
After noting the pillow size, add extra fabric for seams. Typically, add ½ inch to each side. This extra space is called seam allowance. It lets you sew the edges without making the cover too small. Remember, skipping this step can result in a tight or small cover.
Cutting The Fabric
Cutting the fabric is an important step in making a throw pillow cover. It sets the foundation for the shape and size of your pillow. Precise cutting helps your cover fit well and look neat. Take your time to measure and cut carefully. Using the right tools makes this process easier and more accurate.
Marking The Fabric
Start by measuring the fabric according to your pillow size. Use a ruler or measuring tape for accuracy. Mark the fabric edges with a fabric pencil or chalk. Draw straight lines to guide your cutting. Double-check your measurements before cutting to avoid mistakes. Mark both pieces if your cover has a front and back.
Cutting Tips
Use sharp fabric scissors for clean cuts. Cut slowly and follow the marked lines closely. Keep the fabric flat on a clean surface to prevent shifting. Avoid lifting the fabric too much while cutting. Cut two pieces if your cover has a front and back panel. Keep the edges smooth for easier sewing later.
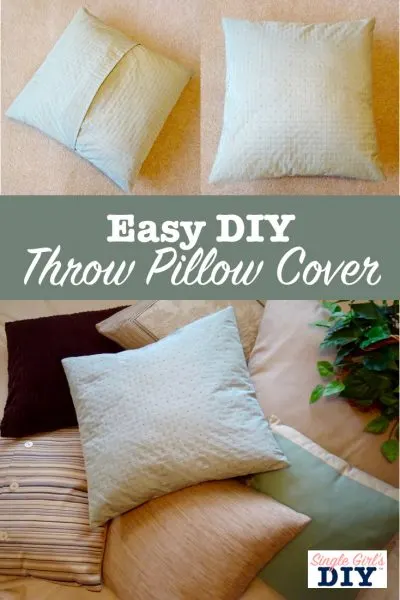
Credit: singlegirlsdiy.com
Sewing The Pieces
Sewing the pieces of your throw pillow cover is an important step. It joins the fabric parts into one neat cover. This step needs care and simple sewing skills. Follow these easy instructions for the best results.
Basic Stitching Techniques
Start with a straight stitch. It is the most common stitch for sewing fabric. Use a sewing machine or sew by hand. Keep your stitches even and close. This will make your pillow cover strong and neat.
A backstitch at the start and end helps secure the thread. It stops your stitching from coming undone. Practice on scrap fabric to get comfortable with the stitch.
Creating Seams
Place the fabric pieces with the right sides facing each other. This hides the seams inside. Pin the edges to hold the fabric in place. Sew along the pinned edges using a straight stitch. Leave one side open for the pillow to go in.
Keep your seam allowance consistent, about ½ inch. This helps the cover fit well and look tidy. Press the seams flat with an iron for a clean finish.
Finishing Edges
Finish the raw edges to prevent fraying. Use a zigzag stitch along the edges or a serger if you have one. Another option is to fold the edges and sew a narrow hem.
Turn the pillow cover right side out through the open side. Press the edges with an iron. This makes the cover crisp and ready for stuffing your pillow inside.
Adding A Closure
Adding a closure to your throw pillow cover keeps the pillow inside safe and secure. It also gives the cover a neat, finished look. Different closure types suit different styles and sewing skills. Choose one that fits your project and comfort level.
Using Zippers
Zippers create a clean, modern finish. They hold the pillow firmly inside the cover. Choose a zipper close to the fabric color for a hidden look. Sew the zipper carefully along one edge of the cover. This method works well for beginners and experts alike.
Using Buttons Or Snaps
Buttons and snaps add charm and function. Sew buttons along one edge and make matching buttonholes. Snaps are easier to attach and open quickly. Both options give a classic, decorative touch. They are perfect for covers with a rustic or handmade feel.
Envelope Style Closure
The envelope style hides the pillow inside without extra hardware. Overlap fabric flaps on the back of the cover. Sew the edges to keep the flaps in place. This simple closure is quick to make and easy to use. It suits casual and cozy pillow designs well.
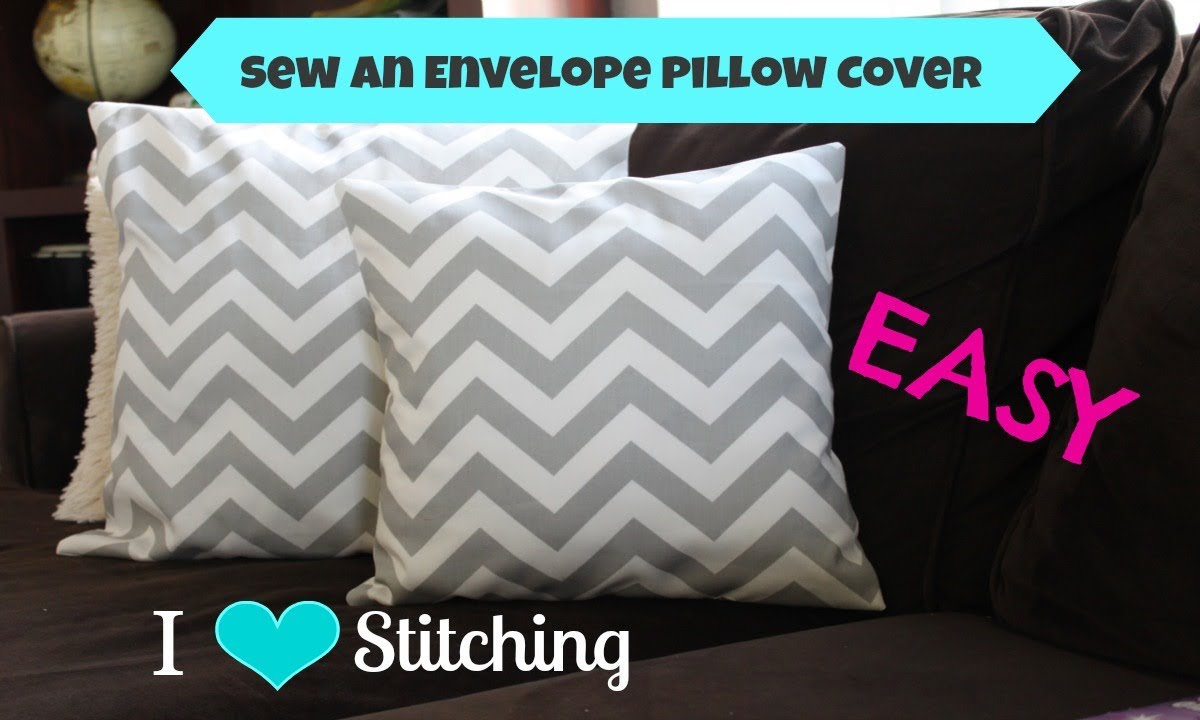
Credit: www.youtube.com
Final Touches
The final touches make your throw pillow cover look neat and polished. These simple steps improve the overall appearance and durability. Focus on pressing, inserting the pillow, and styling to complete your project.
Pressing The Cover
Use an iron to press the seams of the pillow cover. Set the iron to a low or medium heat to avoid damaging the fabric. Press both sides of the fabric for a smooth finish. This step removes wrinkles and helps the cover hold its shape better.
Inserting The Pillow
Choose a pillow insert that fits your cover size well. Slide the insert gently inside the cover. Make sure the corners fill out the cover evenly. Adjust the pillow inside to avoid lumps and bumps. A well-filled pillow looks inviting and comfortable.
Styling Ideas
Place your new pillow on a couch or bed for a fresh look. Mix and match with other pillows for variety. Use colors and patterns that complement your room decor. Change pillow covers seasonally for a quick room update. Simple styling enhances your living space instantly.
Frequently Asked Questions
What Materials Do I Need To Make A Throw Pillow Cover?
You need fabric, scissors, thread, a sewing machine or needle, zipper or buttons, and measuring tape. Choose fabric based on your decor and durability needs.
How Do I Measure A Pillow For The Cover?
Measure the pillow’s width, height, and depth. Add 1 inch to each dimension for seam allowance to ensure a perfect fit.
Can I Make A Throw Pillow Cover Without Sewing?
Yes, use fabric glue, iron-on adhesive, or no-sew tape. These methods are quick but less durable than sewing.
What Fabric Types Work Best For Throw Pillow Covers?
Cotton, linen, velvet, and canvas are popular. Choose based on comfort, style, and how easy they are to clean.
Conclusion
Making a throw pillow cover is simple and fun. You can choose any fabric you like. Sewing it yourself saves money and adds a personal touch. Try different colors and patterns to match your room. This small project brings new life to old pillows.
Give it a try—you might enjoy the process more than you expect. Crafting your own covers lets you be creative and proud. Enjoy your cozy, custom pillows every day.
As an Amazon Associate, I earn from qualifying purchases.