Are you ready to add a personal touch to your home décor? Learning how to sew a throw pillow is easier than you think—and it’s a fun way to refresh any room instantly.
Imagine creating a cozy, stylish pillow that perfectly fits your style and space. In this guide, you’ll discover simple steps to make your own throw pillow, even if you’ve never sewn before. Keep reading, and by the end, you’ll have the skills to craft a beautiful pillow that everyone will notice.
Materials Needed
Before sewing a throw pillow, gather the right materials. The correct items make the project easier and better. Choose fabric and tools that fit your style and skill level. This section explains the necessary materials for a simple pillow project.
Fabric Choices
Pick fabric that feels good and suits your room. Cotton is soft and easy to sew. Linen looks natural and lasts long. Velvet adds a rich, cozy touch. Avoid slippery or stretchy fabrics for beginners. Choose colors and patterns that match your decor.
Tools And Supplies
Use basic sewing tools for smooth work. A sewing machine speeds up sewing. Needles and thread must match your fabric type. Scissors or rotary cutters help cut fabric precisely. Pins or clips hold pieces in place. A ruler or measuring tape ensures correct size. Stuffing like polyester fiberfill fills the pillow. A zipper or buttons close the pillow cover neatly.
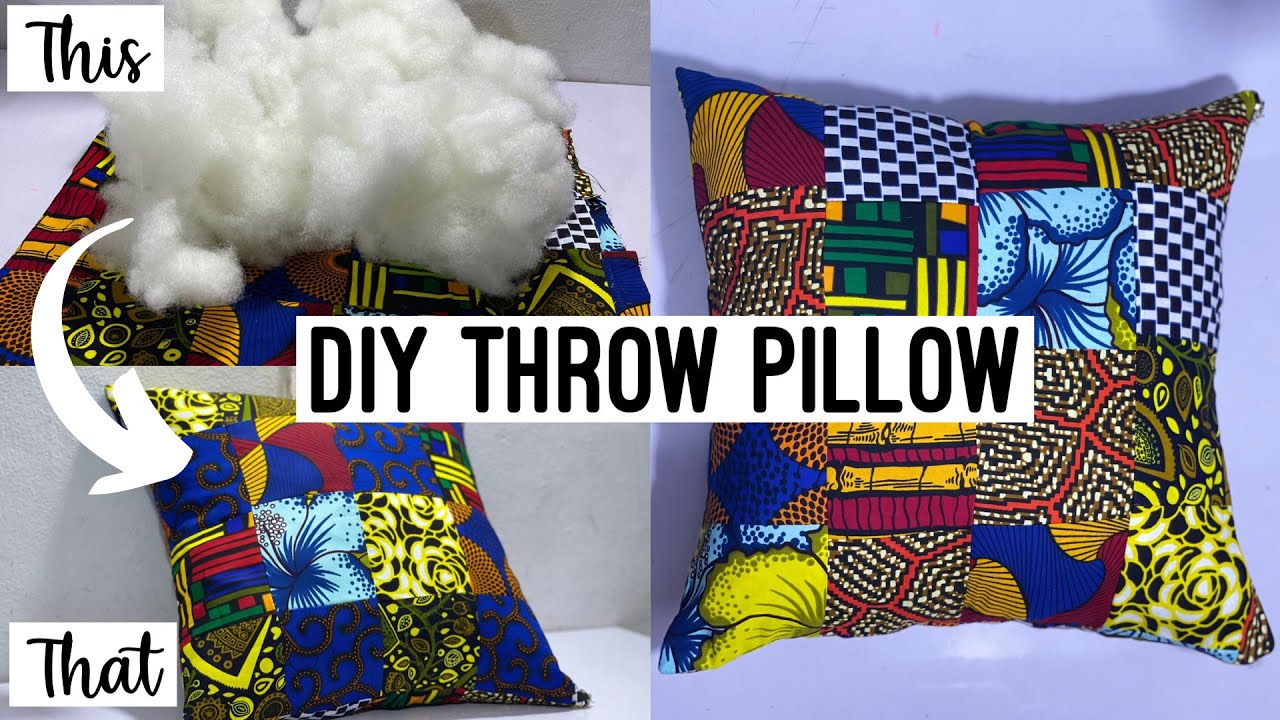
Credit: www.youtube.com
Choosing Pillow Size And Shape
Choosing the right size and shape for your throw pillow is important. It helps the pillow fit well on your couch or bed. The size also affects how comfortable and stylish the pillow looks. You want a pillow that matches your space and your style.
Common Pillow Dimensions
Throw pillows come in many sizes. The most popular size is 18×18 inches. This size works well for most sofas and chairs. Another common size is 20×20 inches. It offers a bit more comfort and presence. Smaller pillows, like 12×16 inches, are good for adding variety. Larger pillows, such as 24×24 inches, make a bold statement.
Shape Variations
Throw pillows are not only square. Rectangle pillows, often called lumbar pillows, add support for your back. Round pillows bring a soft, classic look. Some pillows have unique shapes like hexagons or hearts for fun accents. Choosing the right shape can change the feel of your room. Mix shapes to create a cozy and interesting space.
Cutting The Fabric
Cutting the fabric is the first important step to sew a throw pillow. It shapes the look and size of the pillow. Accuracy during this stage saves time and effort later.
Choose your fabric carefully. Check for any patterns or directions in the fabric weave. These details affect how the fabric looks after sewing.
Measuring And Marking
Start by measuring the size of your pillow form or the desired pillow size. Add extra inches for seam allowance, usually one-half inch on each side.
Use a ruler or measuring tape for straight, clear lines. Mark the fabric with a fabric pencil or tailor’s chalk. Avoid using pens that may stain the fabric.
Double-check your measurements before cutting. Mark both front and back pieces of fabric to keep pieces consistent.
Cutting Tips
Use sharp fabric scissors or a rotary cutter. Dull tools can fray or damage the fabric edges.
Cut slowly along the marked lines. Keep the fabric flat on a cutting surface to avoid mistakes.
Cut two pieces exactly the same size. This ensures the pillow will fit together perfectly when sewn.
Sewing The Pillow Cover
Sewing the pillow cover is the main step in making your throw pillow. It shapes the fabric into a neat case that holds the pillow inside. This step requires focus and care to ensure clean edges and a good fit. You will learn how to pin the fabric and sew it properly.
Using the right techniques here helps your pillow look professional. Keep your stitches straight and even for the best results. Let’s start with pinning and stitching the fabric pieces together.
Pinning And Stitching
First, place your two fabric pieces with the right sides facing each other. Align the edges carefully. Use straight pins to hold the layers together. Pin every few inches to keep the fabric from moving.
Set your sewing machine to a straight stitch. Start sewing along the pinned edges. Sew with a half-inch seam allowance for strong seams. Remove pins as you sew to avoid damage to the machine. Keep your stitches smooth and steady.
Leaving An Opening
Stop sewing about six inches before you reach the end. This space will be the opening to turn your pillow cover right side out. Don’t sew the entire edge closed.
Make sure the opening is big enough to fit your pillow insert. This opening also allows you to stuff the pillow easily. After turning the cover, you will sew this gap closed by hand or machine.
Turning And Stuffing
Turning and stuffing are important steps in making a throw pillow. After sewing the fabric pieces, you need to flip the cover inside out. This shows the right side of the fabric and hides the seams. Proper turning gives the pillow a clean, finished look.
Stuffing fills the pillow and makes it soft and comfortable. Choosing the right filling affects the pillow’s shape and feel. This part brings your pillow to life.
Flipping The Cover Right Side Out
Start by gently pulling the fabric through the opening. Use your fingers or a blunt tool to push out the corners. Make sure each corner is fully turned. Smooth the fabric to remove wrinkles and creases. Check the seams to ensure they are neat and tight. The cover should look clean and smooth on the outside.
Choosing And Adding Filling
Select filling based on the pillow’s use. Polyfill is soft, light, and easy to find. Foam gives firm support and holds shape well. You can mix fillings for a custom feel. Start stuffing in small amounts. Push filling into corners and edges to fill gaps. Add more filling until the pillow feels full but soft. Avoid overstuffing, which can stretch the fabric. Close the opening with a needle and thread after stuffing.
Closing The Pillow
Closing the pillow is the final step in sewing your throw pillow. This step keeps the stuffing inside and gives the pillow a neat look. You have two main options to close your pillow: hand sewing or using a sewing machine. Both methods work well and depend on your preference and tools available.
Hand Sewing The Opening
Hand sewing is a simple way to close the pillow by hand. Use a needle and thread that matches your fabric. Fold the raw edges inside to hide them. Use a slip stitch or ladder stitch for a clean finish.
Start by tying a knot at the end of your thread. Insert the needle inside the folded edge and pull it through. Stitch small, even stitches along the opening. Keep the stitches close to avoid gaps.
When you reach the end, tie a knot to secure the thread. Cut off any extra thread. Your pillow will look tidy and the stuffing will stay inside.
Using A Sewing Machine For Closure
A sewing machine can close the pillow faster and with strong seams. Align the edges of the opening and pin them together. Set your machine to a straight stitch with medium length.
Start sewing a little before the opening to secure the seam. Sew slowly and keep the fabric straight. Backstitch at the beginning and end to hold the stitches in place.
Remove the pins as you sew. Cut the thread and trim any loose threads. Your pillow will have a firm, professional closure ready for use.
Adding Decorative Touches
Adding decorative touches makes your throw pillow stand out. These small details bring charm and personality to your creation. You can customize pillows to match any room style. Simple techniques like piping and embroidery add texture and color. These accents also give your pillow a professional look.
Piping And Trim
Piping adds a clean, finished edge to your pillow. It uses a thin strip of fabric wrapped around cord. You sew this strip into the pillow’s seams. Piping creates a neat border that highlights the pillow shape. Choose contrasting colors or patterns for a bold look.
Trim includes ribbons, lace, or decorative braid sewn along edges. It adds softness or sparkle depending on the material. Trim is easy to attach with a sewing machine or by hand. Use trim to match your room’s décor or add a playful touch.
Embroidery And Appliques
Embroidery means stitching patterns or designs onto the fabric. It can be simple shapes or detailed images. Use embroidery thread in colors that complement your pillow fabric. Hand embroidery offers a personal, handmade feel. Machine embroidery gives precise and uniform designs.
Appliques are fabric pieces sewn on top of the pillow cover. Cut shapes from different fabrics and stitch them in place. Appliques create layers and depth on your pillow surface. They are perfect for adding flowers, animals, or geometric patterns.
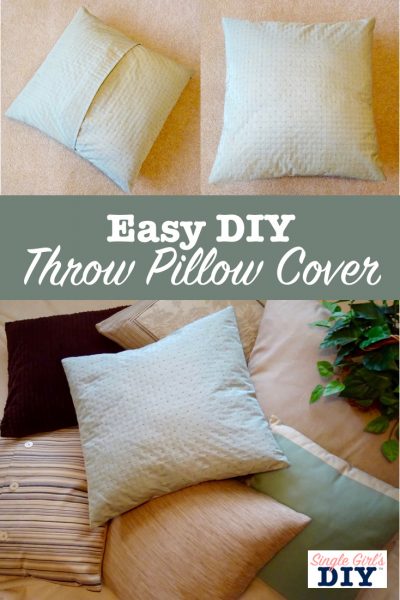
Credit: singlegirlsdiy.com
Care And Maintenance
Proper care and maintenance keep your throw pillows looking fresh and new. Clean pillows last longer and stay comfortable. Regular care prevents dirt buildup and fabric damage. Follow simple steps to maintain your handmade pillow’s beauty.
Washing Instructions
Check the fabric type before washing your throw pillow. Use a gentle cycle and cold water for most fabrics. Avoid harsh detergents that can weaken fibers. Hand wash delicate covers to protect stitching. Air dry covers to prevent shrinking. Remove pillow inserts before washing covers. Spot clean stains immediately to avoid permanent marks.
Keeping Pillows Fluffy
Fluff pillows daily to keep their shape and softness. Give pillows a good shake to redistribute filling. Use a dryer with tennis balls to restore loft. Avoid overstuffing pillow covers to maintain comfort. Replace filling if pillows feel flat or hard. Store pillows in a dry place to stop mold growth. Regular fluffing helps pillows stay cozy and inviting.
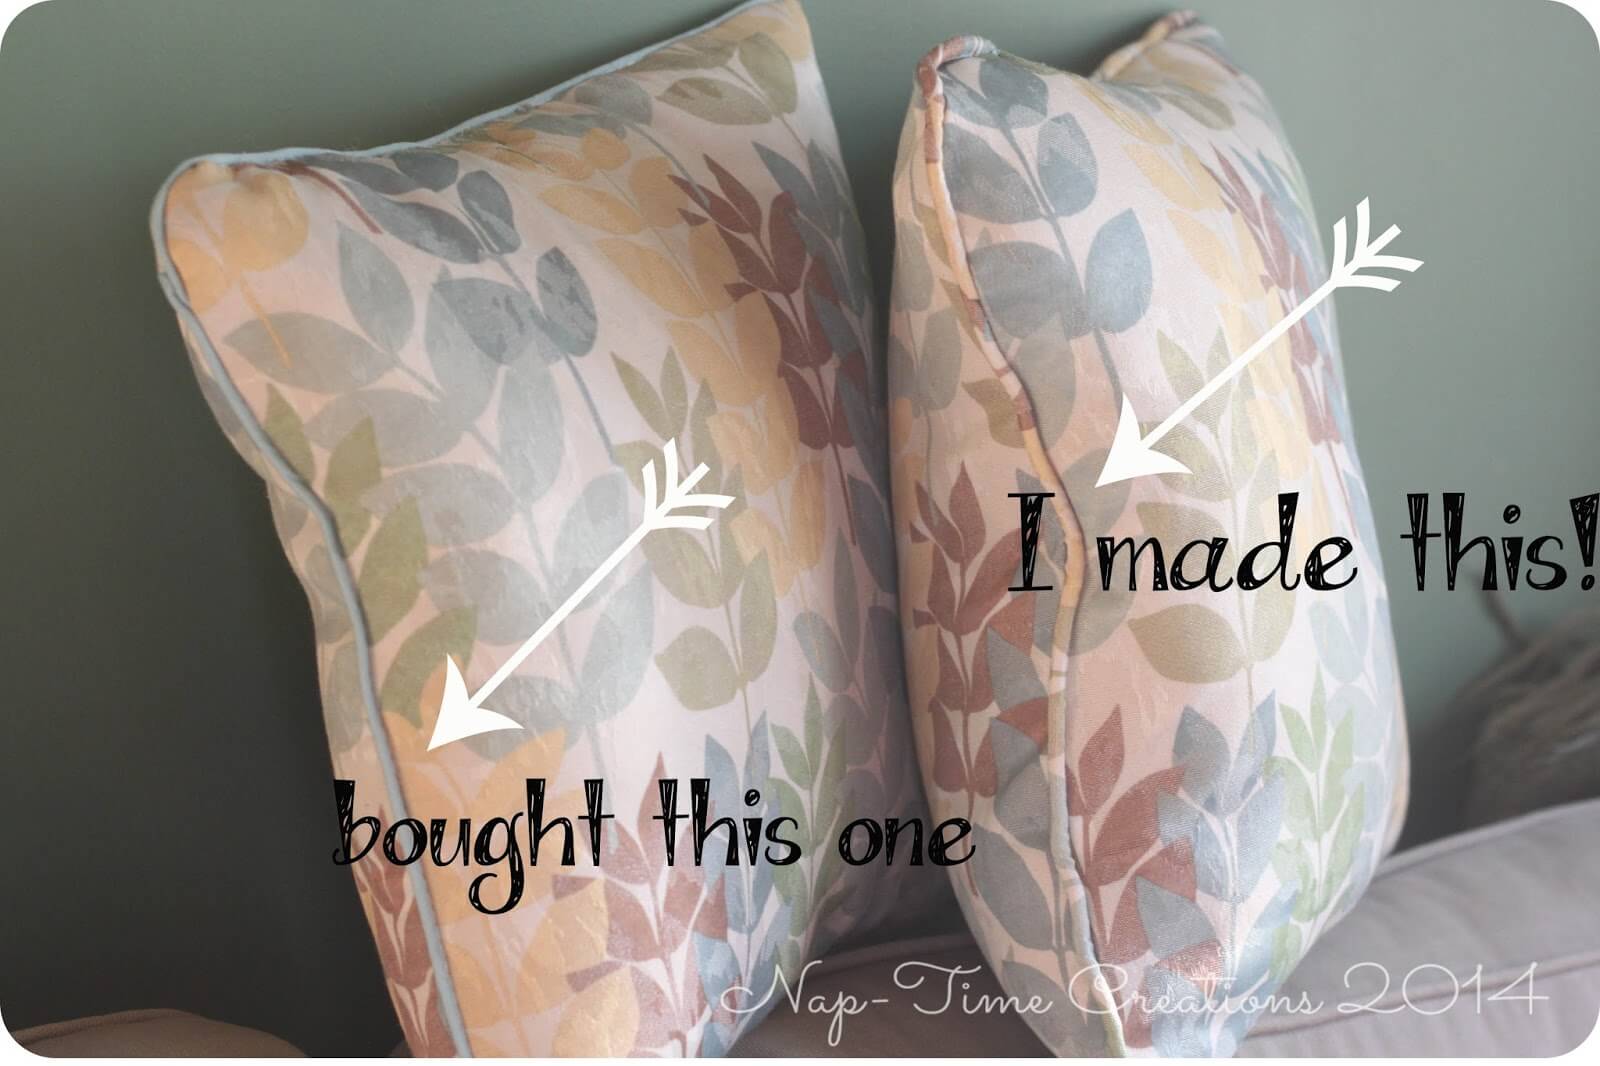
Credit: lifesewsavory.com
Frequently Asked Questions
What Materials Do I Need To Sew A Throw Pillow?
To sew a throw pillow, you need fabric, thread, a sewing machine, scissors, pins, and a pillow insert or stuffing. Choose fabric that suits your decor and is easy to work with. These materials ensure a smooth sewing process and a stylish pillow.
How Do I Measure Fabric For A Throw Pillow?
Measure your pillow insert’s dimensions and add 1-2 inches for seam allowance on all sides. This extra fabric ensures proper fit and room for sewing. Accurate measuring helps avoid fabric waste and ensures your pillow cover fits perfectly.
What Stitch Is Best For Sewing Throw Pillows?
A straight stitch is best for sewing throw pillows. It provides a strong, clean seam that holds fabric securely. Use a medium stitch length to balance strength and flexibility. Finish with a backstitch to prevent unraveling.
Can I Sew A Throw Pillow Without A Zipper?
Yes, you can sew a throw pillow without a zipper by leaving one side open to insert the stuffing. Then, hand-sew or machine-sew the opening closed. This method is simple and ideal for beginners or quick projects.
Conclusion
Sewing a throw pillow is easier than it seems. You just need basic tools and simple steps. Choose fabric you like and cut carefully. Sew straight lines and leave space to fill. Add stuffing and close the opening neatly. Now, you have a custom pillow for your home.
Try different colors and shapes to match your style. Enjoy the comfort and pride of your handmade pillow. Keep practicing, and your skills will grow quickly. Happy sewing!
As an Amazon Associate, I earn from qualifying purchases.