Are you ready to give your living space a fresh, personal touch without spending a fortune? Learning how to sew a throw pillow cover is easier than you think, and it lets you customize your home exactly the way you want.
Imagine choosing your favorite fabric, colors, and patterns to create a pillow that perfectly matches your style. In this guide, you’ll discover simple steps that anyone can follow—even if you’ve never sewn before. Keep reading, and by the end, you’ll have the skills to make beautiful, cozy throw pillow covers that impress everyone who sees them.
Your home deserves that special touch, and you’re just one project away from making it happen.

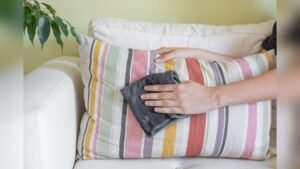
Credit: www.pincutsewstudio.com
Choosing Fabric And Materials
Choosing the right fabric and materials is the first step in sewing a throw pillow cover. This choice affects how the pillow looks, feels, and lasts. Picking good materials makes your sewing project easier and the pillow more comfortable and attractive.
Selecting The Right Fabric
Choose fabric that matches your room’s style and color. Cotton and linen are soft and easy to sew. They work well for everyday use. For a more formal look, try velvet or satin. These fabrics add a rich texture but can be harder to sew. Think about durability. Heavy fabrics like canvas or denim last longer but may be stiff. Pick fabric that feels good to touch and suits your skill level.
Gathering Sewing Supplies
Collect all necessary sewing tools before starting. You need fabric scissors, pins, and a sewing machine or needle. Thread color should match or blend with your fabric. A measuring tape or ruler helps cut fabric accurately. Consider fabric chalk to mark lines. A zipper or buttons may be needed to close the pillow cover. Having all supplies ready saves time and stress.
Picking The Perfect Pillow Insert
Choose a pillow insert that fits the cover size. Inserts come in foam, polyester, or feather filling. Foam holds shape well but feels firm. Polyester is soft and affordable. Feather inserts are plush but need fluffing. Measure your pillow insert and add extra fabric for seams. A slightly larger insert makes the pillow fluffy and full. Match the insert with your fabric for comfort and style.
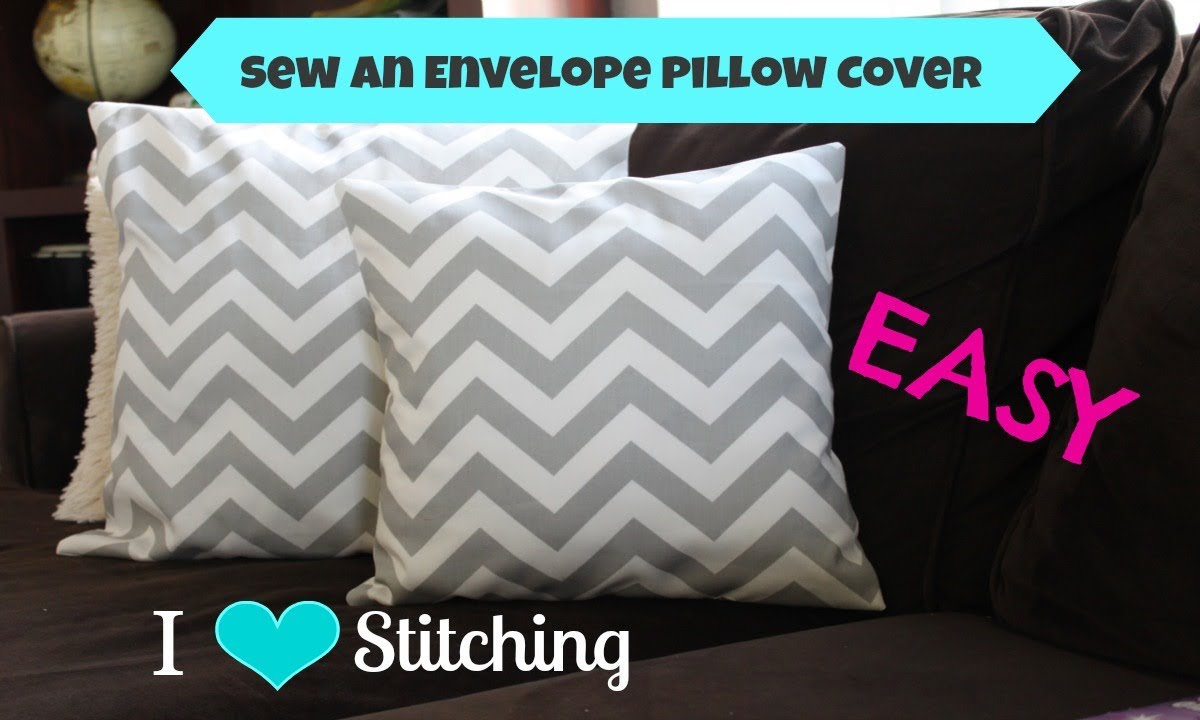
Credit: www.youtube.com
Measuring And Cutting Fabric
Measuring and cutting fabric is the first step to sewing a perfect throw pillow cover. Accurate measurements ensure the cover fits well and looks neat. Cutting the fabric correctly saves time and avoids waste.
Measuring Pillow Dimensions
Start by measuring your pillow’s length and width. Use a tape measure for accuracy. Write down both numbers clearly. These dimensions are the base for your fabric pieces. Measure twice to avoid mistakes.
Adding Seam Allowances
Seam allowances give space for sewing edges together. Add about one inch to each side of your measurements. This means adding two inches to both length and width. This extra fabric helps create strong seams. Without allowance, the cover may turn out too small.
Cutting Fabric Pieces
Lay your fabric flat on a clean surface. Use sharp fabric scissors for clean cuts. Mark your measurements on the fabric with chalk or a fabric pen. Cut along the marked lines carefully. Cut two pieces of fabric for the front and back of the cover.
Sewing The Pillow Cover
Sewing the pillow cover is the key step in this project. It turns flat fabric into a cozy, useful cover. This part needs care to make sure the cover fits well and looks neat. Follow each step closely to get a smooth and strong finish.
Pinning Fabric Together
Start by placing the fabric pieces with the right sides facing each other. Align the edges carefully. Use straight pins to hold the fabric in place. Pin every few inches to avoid shifting. Pinning helps keep seams straight and fabric stable during sewing.
Sewing Seams
Set your sewing machine to a straight stitch. Sew along the pinned edges, leaving a small seam allowance. Backstitch at the beginning and end to secure threads. Keep stitches even and close to the edge. This makes the cover strong and neat.
Creating An Opening For Insertion
Leave one side partially unsewn. This opening is where the pillow goes in. Make it about half the length of the pillow. After sewing, fold and press the seams flat. The opening should be clean and easy to use.
Finishing Touches
Finishing touches make your throw pillow cover look neat and complete. This step gives your project a polished and professional feel. Small details here improve the pillow’s shape and comfort. Follow these simple steps to finish your cover perfectly.
Turning Cover Right Side Out
Carefully pull the fabric through the open side. Use your fingers to push out corners fully. Avoid sharp tools to prevent fabric damage. Smooth the edges with gentle pressure. The cover should lie flat and even.
Inserting The Pillow
Slide the pillow form into the cover slowly. Adjust the corners to fit inside well. Make sure the pillow fills the cover evenly. Fluff the pillow to remove any lumps. Check that the fabric lies smooth without wrinkles.
Closing The Opening
Fold the open edges inward about half an inch. Pin the edges neatly to hold them in place. Sew the opening closed using a slip stitch by hand. Keep stitches small and close for a clean finish. Hide the thread ends inside the fabric. Your pillow cover is now ready to use.
Customizing Your Pillow Cover
Customizing your throw pillow cover lets you create a unique look for your home. You can add your personal style through simple changes. These small details make a big difference. They turn a basic pillow cover into a charming decor piece.
Adding Decorative Elements
Decorative elements bring personality to your pillow cover. Sew on buttons, lace, or ribbons for a delicate touch. Use fabric paint or embroidery to create patterns. These details add texture and interest. Choose decorations that match your room’s style.
Using Different Closures
Closures keep your pillow insert inside the cover. Try zippers for a clean, modern look. Buttons offer a classic, cozy feel. Snaps or ties add a casual style. Pick a closure that feels easy and suits your decor.
Mixing And Matching Fabrics
Mixing fabrics creates a playful and creative pillow cover. Combine cotton with velvet or linen for contrast. Use patterned fabric with solids to balance the look. This mix adds color and texture. Experiment to find combinations you love.
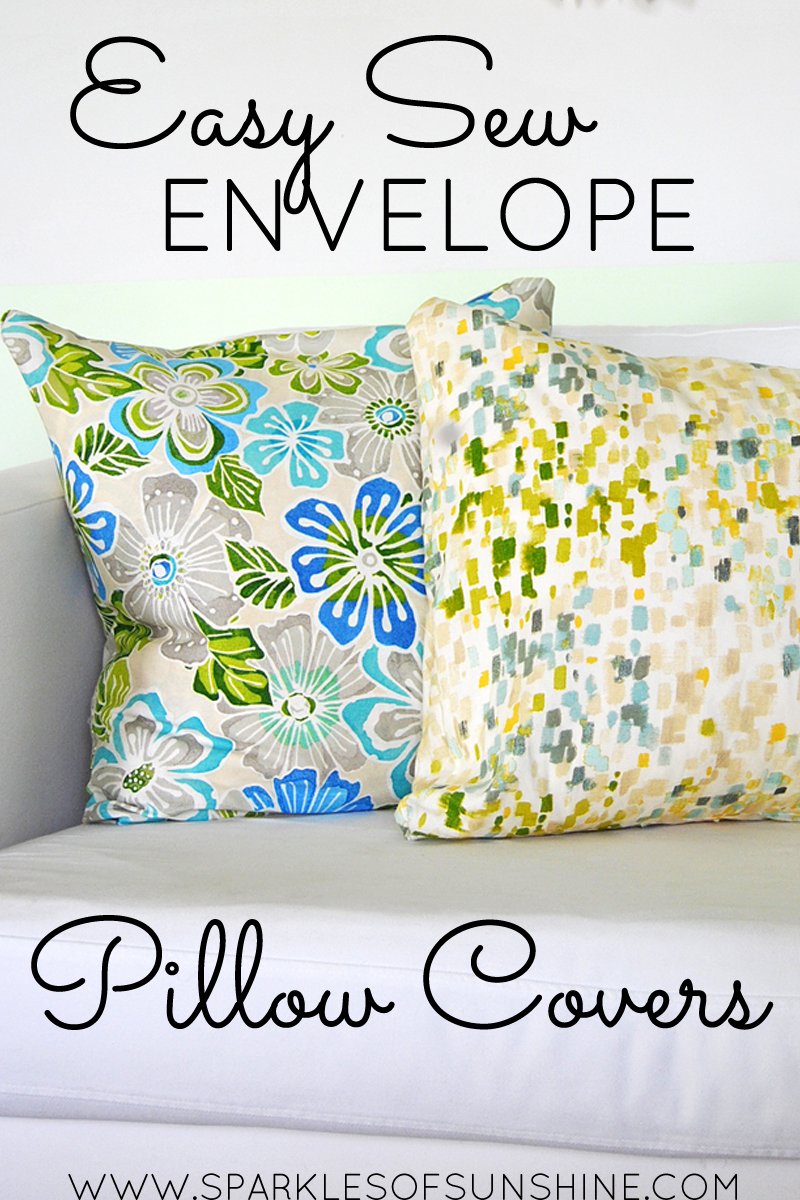
Credit: www.sparklesofsunshine.com
Care And Maintenance Tips
Taking good care of your throw pillow covers keeps them looking fresh and new. Proper care helps the fabric last longer and stay soft. Follow simple steps to maintain your handmade covers with ease.
Washing Instructions
Check the fabric type before washing your pillow covers. Use cold water and a gentle cycle for delicate fabrics. Avoid bleach to prevent color fading. Hand washing is best for fragile materials. Let covers air dry to keep their shape. Iron on low heat if needed.
Storing Your Pillow Covers
Store pillow covers in a dry, cool place. Fold them neatly to avoid wrinkles and creases. Use breathable storage bags or containers to protect from dust. Keep covers away from direct sunlight to prevent fading. Avoid heavy stacking to maintain fabric quality.
Repairing Common Issues
Fix small tears by sewing them with matching thread. Use fabric glue for quick repairs on non-sewing covers. Replace broken zippers with a new one of similar size. Trim loose threads to stop further damage. Regularly check covers for wear and repair early.
Frequently Asked Questions
How Do I Measure For A Throw Pillow Cover?
Measure your pillow’s width and height accurately. Add ½ inch to each side for seam allowance. This ensures a perfect fit for your throw pillow cover.
What Fabric Is Best For Throw Pillow Covers?
Choose durable, soft fabrics like cotton, linen, or canvas. These fabrics are easy to sew and maintain, making them ideal for throw pillow covers.
Can I Sew A Pillow Cover Without A Zipper?
Yes, you can sew a pillow cover with envelope closure or buttons. These alternatives are simple and create a neat finish without a zipper.
How Do I Insert A Pillow Into The Cover?
Turn the sewn cover right side out. Insert the pillow gently, adjusting corners for an even fit. Close the opening securely for a polished look.
Conclusion
Sewing a throw pillow cover is easier than it seems. You only need a few steps and some basic tools. This simple project adds a personal touch to your home decor. Try different fabrics and colors to match your style.
Practice makes perfect, so don’t worry about mistakes. Enjoy the process and the cozy result. Your handmade pillow cover will bring comfort and charm to any room. Give it a try and see how fun sewing can be!
As an Amazon Associate, I earn from qualifying purchases.