Looking for a TV stand that fits your style and space perfectly? Why settle for something off the shelf when you can create your own?
Building a DIY TV stand lets you customize every detail while saving money. Plus, the satisfaction of watching your favorite shows on a piece you made yourself is unbeatable. You’ll discover simple steps and smart tips to craft a TV stand that suits your needs.
Ready to turn your living room into a cozy, stylish spot? Let’s get started!

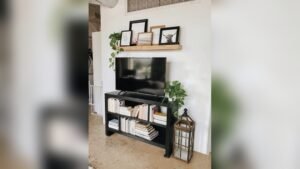
Credit: diyhuntress.com
Choosing The Right Design
Choosing the right design for your DIY TV stand shapes the entire project. It sets how well the stand fits your room and matches your style. A good design keeps your space neat and shows off your TV perfectly. Take time to pick a design that suits your needs and feels right for your home.
Assessing Your Space
Measure the area where the TV stand will sit. Note the width, height, and depth available. Check for nearby outlets and cables to avoid blocking them. Think about other furniture around the spot. Leave enough room for walking and other activities. A well-measured space helps find a stand that fits well.
Selecting A Style
Choose a style that matches your room’s decor. Modern, rustic, or minimalist designs each create a different look. Think about the colors and shapes in your space. Pick a style that feels comfortable and natural. The right style makes the TV stand part of your home’s story.
Materials To Consider
Wood is popular for its warmth and strength. Plywood offers a smooth finish and is easy to paint. Metal adds a sleek, industrial touch. Glass shelves create a light, open feel but need careful handling. Match materials with your style and how much wear the stand will get. Good materials last longer and look better.
Gathering Tools And Supplies
Gathering the right tools and supplies is the first step in building your own TV stand. Having everything ready makes the project easier and faster. It helps avoid delays and frustration. This section will guide you through the tools you need, where to buy materials, and how to save money on your supplies.
Essential Tools List
Start with a tape measure to get exact dimensions. A saw is important to cut wood pieces. A drill helps make holes and drive screws. Sandpaper smooths rough edges. A screwdriver is useful for tightening screws. Clamps hold pieces together while glue dries. Wood glue strengthens joints. Safety gear like gloves and goggles protects you during work.
Where To Buy Materials
Hardware stores carry most tools and wood. Big-box stores offer a wide selection of supplies. Local lumber yards provide quality wood and advice. Online shops are good for specialty items. Check each source for prices and availability. Choose the place that fits your needs best.
Budget-friendly Options
Look for used tools in good condition. Thrift stores and online marketplaces have deals. Reclaimed wood adds character and lowers costs. Use scrap wood from other projects. Buy basic tools first, then add more later. Compare prices to find the best value. Saving money helps keep your project on track.
Step-by-step Assembly
Building your own TV stand can be simple and fun. Follow these steps to create a strong and stylish piece. Each step guides you through the process clearly.
Preparing The Workspace
Clear a large, flat area to work on your TV stand. Make sure the space is well-lit and free of clutter. Gather all tools and materials before starting. This saves time and keeps you focused.
Cutting And Measuring
Measure wood pieces carefully according to your design. Use a tape measure for accuracy. Mark cutting lines with a pencil. Cut slowly and steadily to avoid mistakes. Double-check each piece before moving on.
Joining And Securing Parts
Start by joining the base parts using screws or nails. Use a drill or hammer for tight connections. Check that all parts fit together well. Add glue for extra strength if needed. Let glue dry before adding shelves or finishing touches.
Finishing Touches
Finishing touches make your DIY TV stand look complete and polished. These final steps improve the feel and style of your project. Proper finishing protects the wood and enhances its natural beauty. Simple efforts here create a strong and attractive piece that fits your home.
Sanding And Smoothing
Start by sanding all surfaces with fine-grit sandpaper. Sanding removes rough spots and splinters. It makes the wood surface even and ready for paint or stain. Wipe away dust with a clean cloth to keep the surface clean.
Painting And Staining
Choose paint or stain that matches your room’s style. Paint adds color and hides imperfections. Stain shows the wood grain and gives a natural look. Apply thin, even coats and let each dry before the next. This prevents drips and uneven coloring.
Adding Decorative Elements
Decorative touches add personality to your TV stand. Consider adding knobs, handles, or trim for extra style. Use stencils or decals for simple patterns. Small details make your stand unique and more attractive. Keep decorations balanced and not too busy.
Maintenance Tips
Taking care of your DIY TV stand helps it stay strong and look good. Simple maintenance keeps the wood or metal safe from damage. Regular care saves money and effort later. Small fixes and cleaning make your stand last longer.
Here are some easy tips to keep your TV stand in top shape.
Cleaning Techniques
Use a soft cloth to wipe dust away. Avoid harsh chemicals that can damage the finish. A mix of mild soap and water works well for most surfaces. Dry the stand completely after cleaning to stop water damage. Clean spills quickly to prevent stains.
Repairing Minor Damages
Fix small scratches with wood filler or touch-up markers. Tighten loose screws to keep the stand sturdy. Use glue for minor cracks in wooden parts. Replace any broken hardware to avoid bigger problems. Regular checks help catch damage early.
Extending Stand Longevity
Keep your TV stand away from direct sunlight. Use coasters or mats under decorations to prevent scratches. Avoid placing heavy items on the stand that it cannot hold. Check the stand’s balance to avoid tipping. Reapply protective finishes if the surface looks dull.
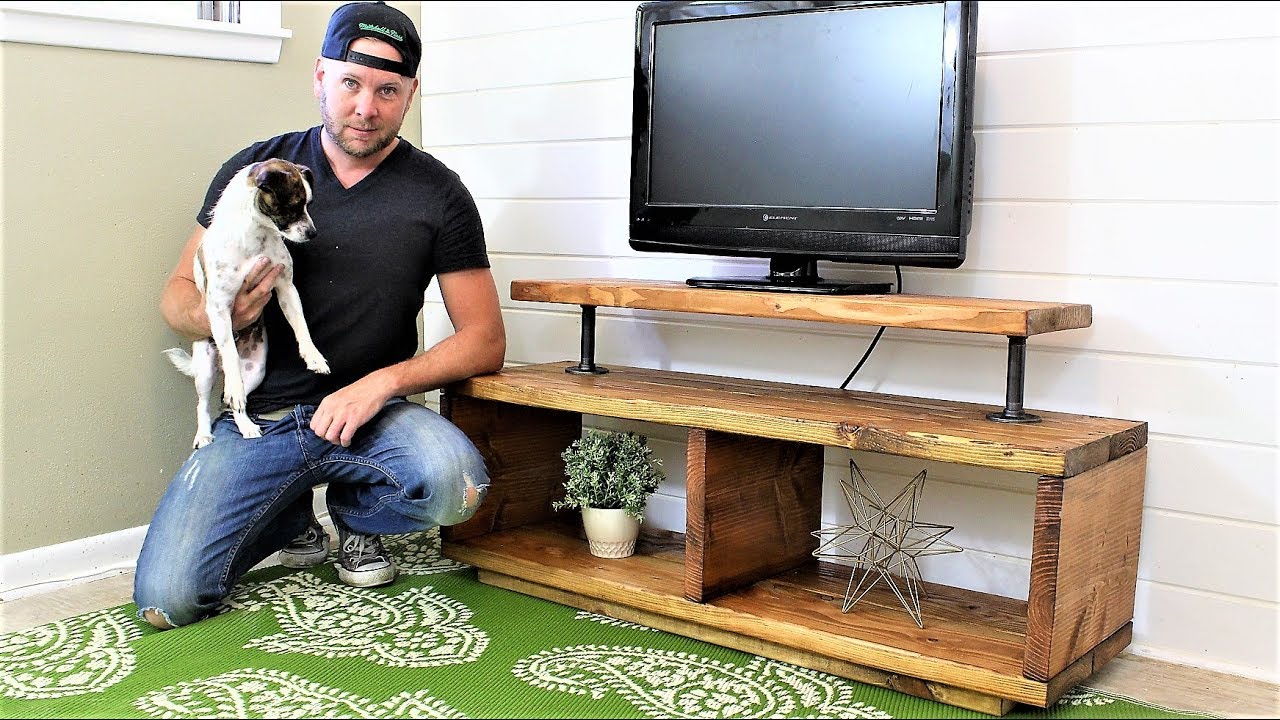
Credit: www.youtube.com
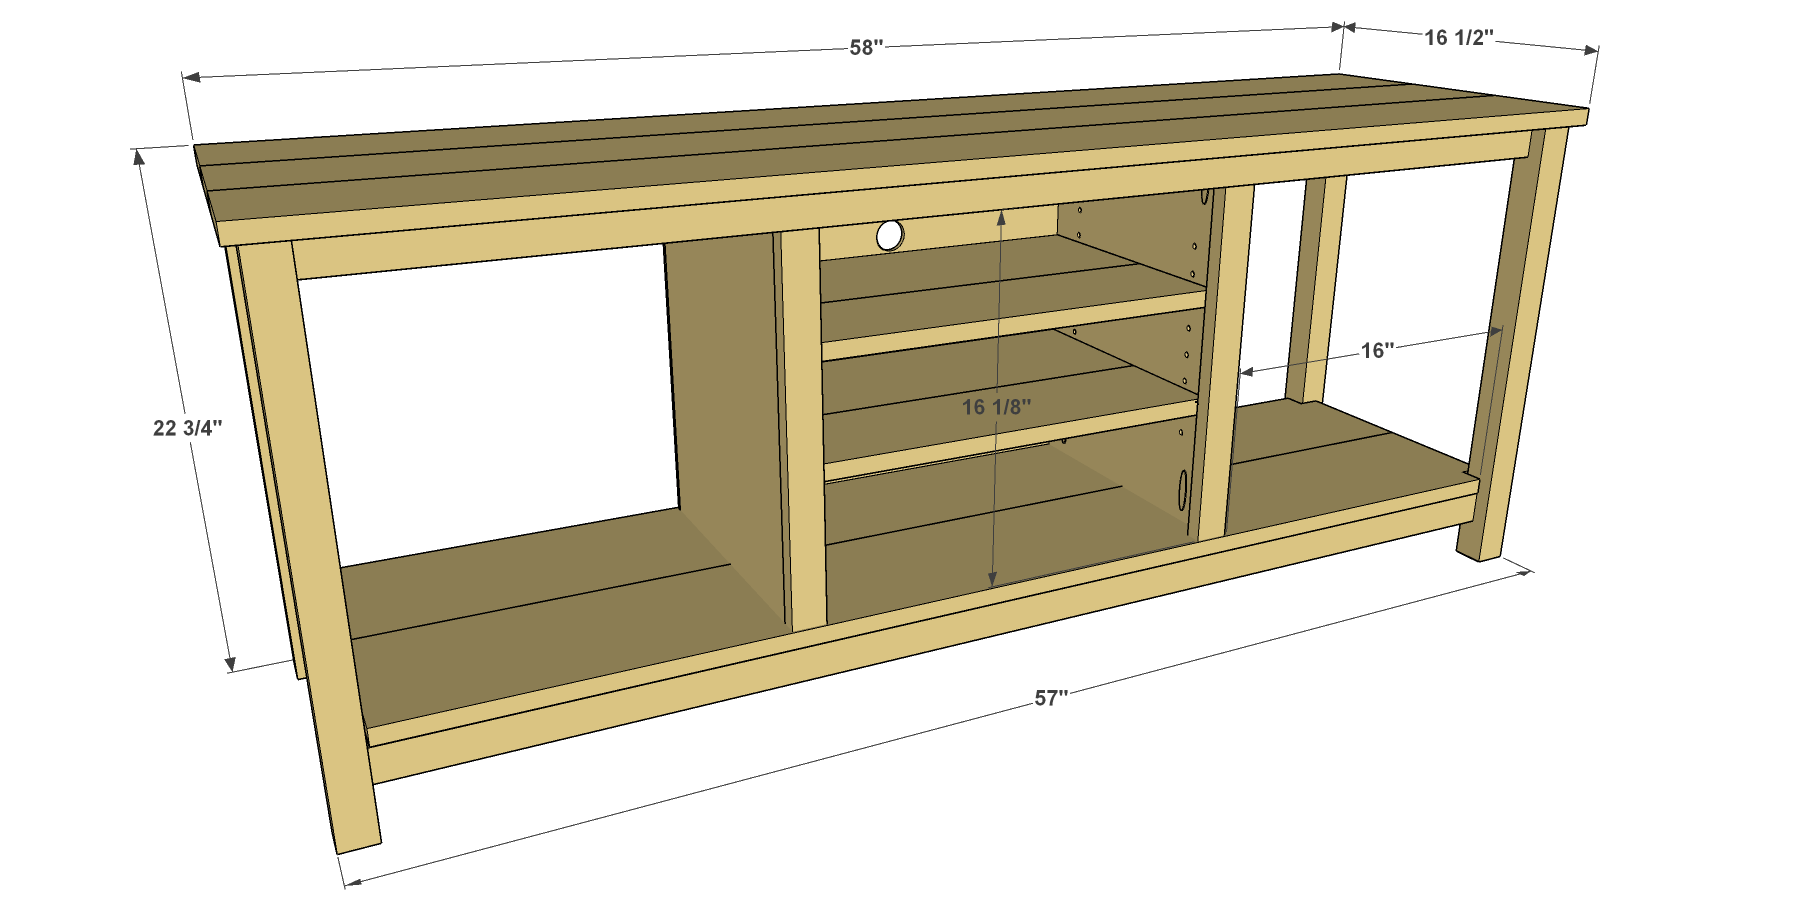
Credit: learn.kregtool.com
Frequently Asked Questions
What Materials Are Best For A Diy Tv Stand?
Wood, plywood, and MDF are popular materials for DIY TV stands. They are sturdy, easy to work with, and affordable. Choose a material that suits your design style and budget for a durable and attractive stand.
How Do I Measure For A Diy Tv Stand?
Measure your TV’s width, height, and depth first. Add extra space for devices and ventilation. Ensure the stand fits your room comfortably and supports your TV’s weight safely.
What Tools Are Needed To Build A Tv Stand?
Basic tools include a saw, drill, screwdriver, measuring tape, and sandpaper. Depending on your design, clamps, a level, and wood glue can also be helpful. These tools ensure accuracy and a professional finish.
How Can I Customize My Diy Tv Stand?
Customize by choosing paint colors, adding shelves, or incorporating cable management. Personalize with decorative hardware or unique design elements. Tailor the stand to your room’s style and your storage needs.
Conclusion
Building your own TV stand saves money and adds a personal touch. You control the design, size, and color to fit your space perfectly. It also gives a great chance to learn new skills and feel proud of your work.
Simple tools and materials make the project easy and fun. Start small, follow clear steps, and enjoy the process. A DIY TV stand brings style and function into your home without extra cost. Why buy when you can create something unique yourself?
Give it a try and see how rewarding it can be.
As an Amazon Associate, I earn from qualifying purchases.