
Are you tired of searching for the perfect bookshelf that fits your space and style? What if you could create one yourself, exactly how you want it?
Building your own bookshelf is easier than you think. It gives you control, saves money, and adds a personal touch to your home. You’ll discover simple steps and smart tips to build sturdy, beautiful bookshelves that showcase your favorite books and treasures.
Ready to turn your ideas into reality? Let’s get started!
Choosing The Right Bookshelf Design
Choosing the right bookshelf design sets the foundation for your project. The design affects the look, function, and fit of the bookshelf in your space. Think about the room size, what you want to store, and your style preferences. A well-chosen design makes the building process easier and the final shelf more useful and attractive.
Assessing Space And Purpose
Measure the space where the bookshelf will stand. Note ceiling height, wall length, and nearby furniture. Decide what you will place on the shelves. Books, decorations, or storage boxes? This choice guides shelf depth and height. Consider traffic flow so the shelf does not block walkways. A shelf that fits the space feels balanced and neat.
Selecting Styles And Materials
Choose a style that matches your room’s look. Classic, modern, rustic, or minimalist? Each style has unique shapes and details. Pick materials that fit your budget and skill level. Wood offers warmth and strength. Plywood is affordable and smooth. Metal adds a modern touch and durability. The right style and material give your bookshelf character and strength.
Gathering Tools And Materials
Gathering the right tools and materials is the first step to build strong bookshelves. Having everything ready makes the process smooth and less stressful. It saves time and helps you avoid mistakes.
Choosing good quality wood and hardware ensures your shelves last long and look great. The right tools help you cut, join, and finish the wood properly. This section covers what you need to start your bookshelf project with confidence.
Essential Tools For Beginners
Start with basic tools that are easy to use and affordable. A measuring tape helps you get exact sizes. A saw cuts the wood; a handsaw or jigsaw works well for beginners. Use a drill to make holes and drive screws quickly. A screwdriver is useful for tightening screws by hand.
Sandpaper smooths rough edges and surfaces. A level checks that your shelves are straight. Clamps hold pieces together while glue dries. Gloves protect your hands during work. These tools form a simple kit to build your shelves easily.
Picking Quality Wood And Hardware
Choose wood that suits your style and budget. Pine is soft and easy to work with. Oak and maple are harder and last longer. Avoid wood with many knots or cracks. Smooth wood looks better and is safer to handle.
Pick screws and nails that fit your wood thickness. Use wood glue for strong joints. Brackets help support heavy shelves. Finish with paint or varnish to protect wood from damage. Quality materials make your bookshelf sturdy and attractive.
Preparing Your Workspace
Preparing your workspace is the first step in building bookshelves. A clean, organized area helps you work faster and safer. It also keeps tools and materials within reach. Taking time to set up your space makes the whole project smoother and more enjoyable.
Setting Up A Safe Area
Choose a flat, sturdy surface to work on. Make sure the area has good lighting. Clear away any clutter or obstacles. Keep children and pets away from the workspace. Wear safety gear like goggles and gloves. Safety is key to avoid accidents and injuries.
Organizing Tools And Materials
Gather all necessary tools before starting. Place them where you can easily grab them. Arrange wood, screws, and nails nearby. Sort materials by size and type. This saves time and prevents frustration. Keep a trash bin close for scraps and waste.
Measuring And Cutting Wood
Measuring and cutting wood are the first steps in building strong bookshelves. Precise measurements ensure the shelves fit well and look neat. Cutting wood accurately prevents mistakes and wasted materials. Careful planning saves time and effort during assembly. Focus on clear marking and steady cutting for the best results.
Accurate Measuring Techniques
Use a tape measure for all dimensions. Measure twice to avoid errors. Mark the wood with a pencil for clear lines. Use a square tool to keep lines straight. Check measurements against your design plans. Keep marks light but visible for cutting.
Safe Cutting Practices
Wear safety goggles and gloves before cutting. Use a saw that fits the wood size. Secure the wood firmly with clamps. Cut slowly along the marked lines. Keep your hands away from the blade. Work in a clean, well-lit space for better control.
Assembling The Bookshelf Frame
Assembling the bookshelf frame is the first big step in building your own shelves. It creates the strong structure that holds everything together. Taking time here ensures your bookshelf will be stable and last a long time.
Focus on fitting the sides and shelves tightly. Proper assembly helps avoid wobbling or gaps later. Follow the steps carefully to get a solid frame ready for finishing touches.
Joining The Sides And Shelves
Start by placing the side panels upright. Then, position the shelves between them at the right heights. Check that shelves sit evenly and straight.
Use clamps to hold pieces firmly in place. This keeps everything steady while you work on joining. Align edges perfectly to avoid uneven shelves.
Double-check measurements. Correct spacing makes the bookshelf look neat and balanced. Take time for this step; it pays off with a professional result.
Using Screws And Wood Glue
Apply wood glue on the edges of shelves before attaching. The glue adds extra strength to joints. Spread it evenly for a tight bond.
Next, drill pilot holes to prevent wood from splitting. Insert screws carefully into these holes. Tighten screws just enough to hold pieces firmly.
Use screws that match the wood thickness. Long screws may cause damage or poke through. Wood glue and screws together create a durable frame.
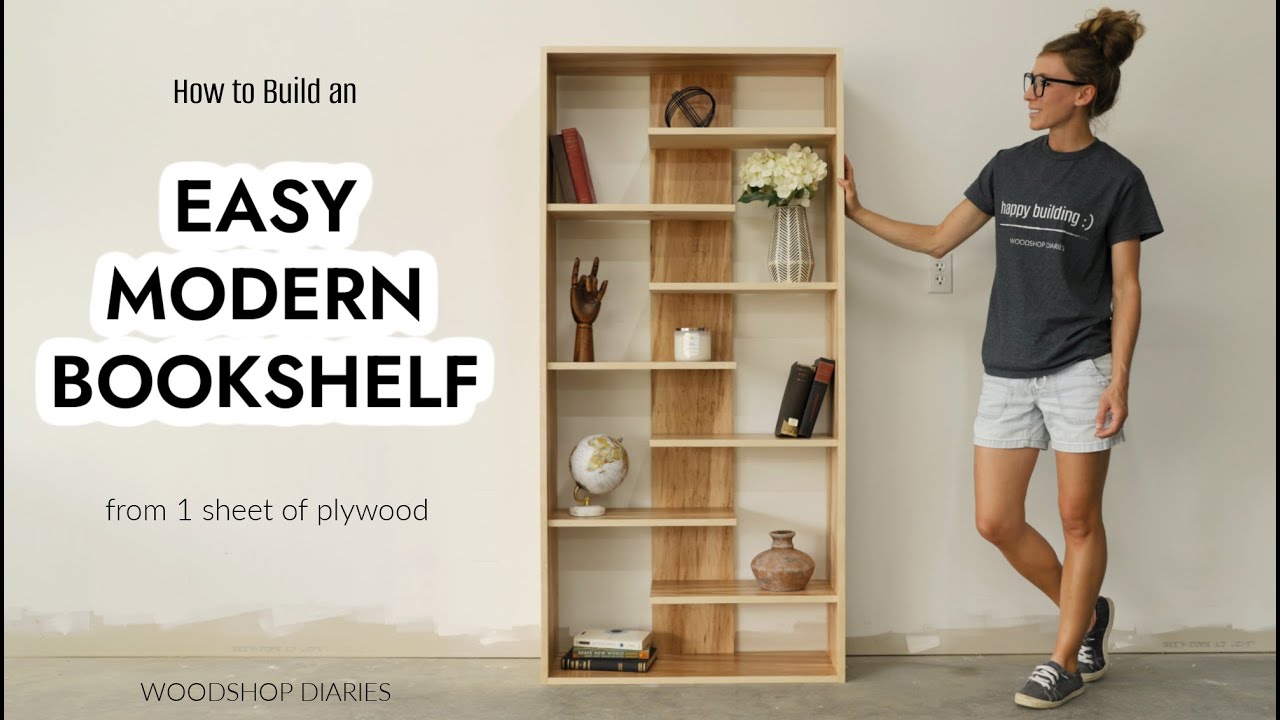
Credit: www.youtube.com
Sanding And Finishing Touches
Sanding and finishing touches are vital steps in building bookshelves. These steps improve the look and feel of your project. Sanding removes rough spots and prepares the wood for paint or stain. Finishing protects the wood and enhances its natural beauty.
Smoothing Rough Edges
Start with coarse sandpaper to smooth rough edges. Sand along the grain of the wood. This prevents scratches and uneven surfaces. Use a sanding block for flat areas and sandpaper sheets for corners. Check edges carefully to avoid splinters. After coarse sanding, switch to fine sandpaper. This makes the wood surface soft and even. Wipe away dust with a dry cloth before moving to finishing.
Applying Paint Or Stain
Choose paint or stain that suits your shelf style. Stain highlights the wood grain and adds color. Paint offers a solid, colorful finish and hides imperfections. Apply a primer before painting for better adhesion. Use a brush or foam applicator to apply evenly. Work in thin layers to avoid drips and bubbles. Allow each coat to dry fully before applying the next. Finish with a clear sealant for durability and shine. This step protects your shelves from wear and moisture.
Securing And Installing The Bookshelf
Securing and installing your bookshelf is a crucial step in the building process. It ensures safety and durability. Proper installation keeps the shelf stable and prevents accidents.
Careful attention during this phase guarantees your bookshelf lasts for years. It also enhances the overall look of your room. Follow these simple steps to secure and style your new bookshelf.
Anchoring For Stability
Start by anchoring the bookshelf to the wall. Use wall studs to find strong points for screws. Avoid just using drywall anchors, as they are less secure.
Attach brackets or metal straps at the top and bottom of the shelf. This prevents the bookshelf from tipping forward. Use a level to keep everything straight before tightening screws.
Check the stability by gently pushing the shelf. It should not move or wobble. Proper anchoring protects children and pets from accidents.
Placing And Styling Your Shelves
Choose a spot that fits the size of your bookshelf well. Avoid cramped corners or places with heavy foot traffic. Good lighting helps highlight your books and decor.
Arrange books by size, color, or category for a neat look. Mix in decorative items like plants or photo frames for interest. Leave some empty space to avoid a cluttered feel.
Regularly dust and clean your shelves to keep them looking fresh. This simple care keeps your bookshelf attractive and inviting.
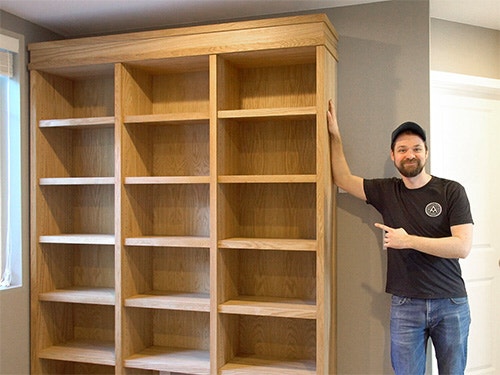
Credit: www.rockler.com
Troubleshooting Common Issues
Building bookshelves can bring small problems that slow the work. These common issues are easy to fix. Solving them quickly keeps the project on track. This guide helps spot and solve these problems fast.
Fixing Wobbly Shelves
Wobbly shelves feel unsafe and look bad. Tighten all screws to stop movement. Use a level to check shelf alignment. Add corner braces for extra strength. These small steps make shelves firm and steady.
Dealing With Uneven Surfaces
Uneven floors cause shelves to tilt or rock. Measure the floor before building the base. Use shims under the legs to balance the shelf. Sand the bottom edges if needed for smooth contact. This ensures shelves stand straight and hold weight well.
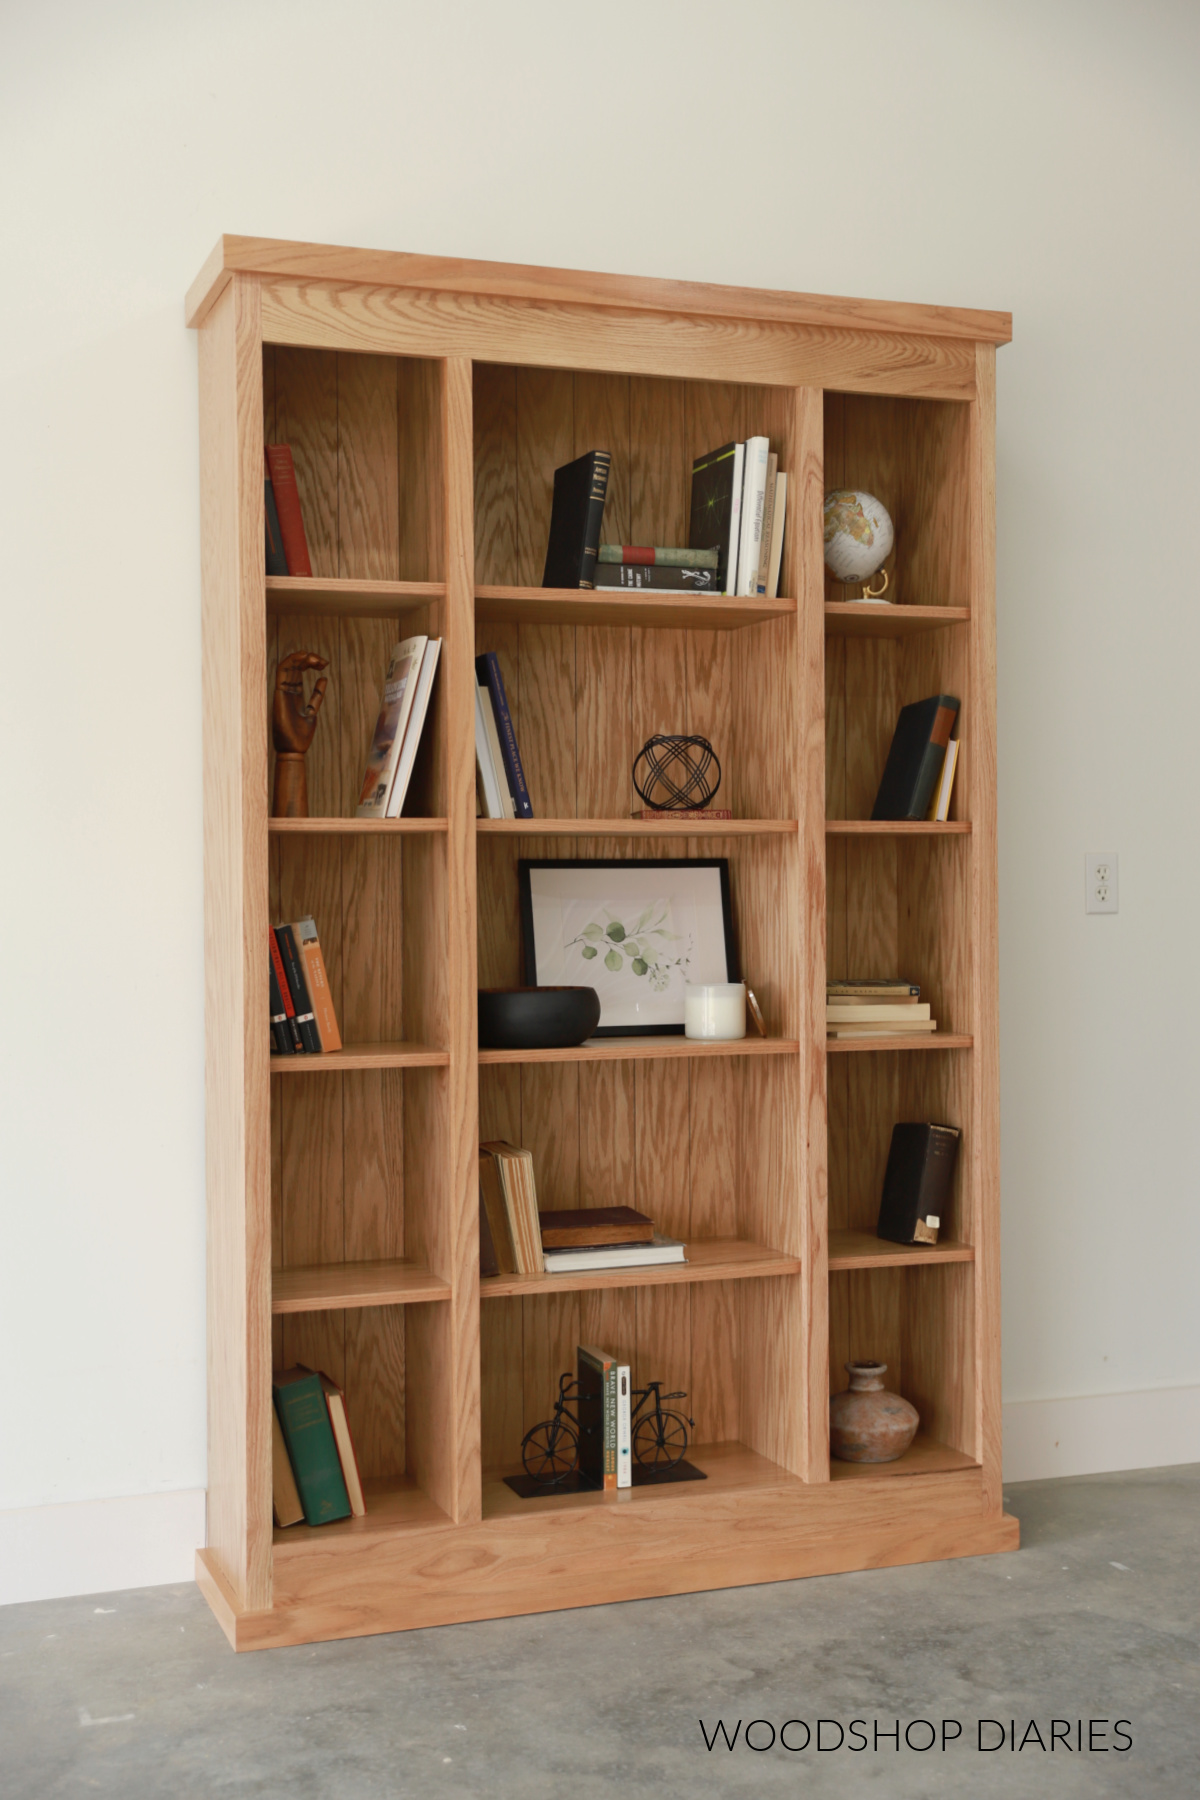
Credit: www.woodshopdiaries.com
Frequently Asked Questions
What Tools Do I Need To Build Bookshelves?
You need basic tools like a saw, drill, screwdriver, measuring tape, and level. Sandpaper and wood glue help finish and secure shelves. Safety gear like goggles and gloves is essential for protection. These tools ensure precise cuts and sturdy assembly.
What Type Of Wood Is Best For Bookshelves?
Plywood, pine, and oak are popular choices for bookshelves. Plywood is affordable and strong, pine is lightweight and easy to work with, while oak offers durability and a beautiful finish. Choose based on budget, style, and shelf weight requirements.
How Do I Ensure My Bookshelf Is Sturdy?
Use quality wood and strong joints like dado or pocket screws. Secure shelves with brackets or cleats for added support. Avoid overloading shelves beyond weight limits. Proper anchoring to walls prevents tipping and increases safety.
How Do I Customize Bookshelf Size And Design?
Measure your space accurately before building. Adjust shelf height and width to fit your needs. Experiment with different finishes and decorative trims for style. Customization allows your bookshelf to perfectly match your room and storage demands.
Conclusion
Building bookshelves can be a fun and rewarding project. Start with simple tools and clear steps. Measure carefully to fit your space perfectly. Choose wood that feels strong and looks good. Take your time to make each cut straight. Assemble pieces firmly for lasting support.
Paint or stain to match your style. Enjoy organizing your books on shelves you made. Small efforts bring big satisfaction. Try building one today and see the difference.
As an Amazon Associate, I earn from qualifying purchases.