Hanging art on a brick wall can feel tricky, but it doesn’t have to be. You want your favorite pieces to shine, but brick isn’t like regular drywall.
If you’re worried about damaging your wall or your art slipping down, you’re not alone. The good news? With the right tools and simple steps, you can turn your brick wall into a stunning gallery. Keep reading, and you’ll learn exactly how to hang your art safely and beautifully—no guesswork, no stress.
Your space is about to get a whole lot more inspiring.
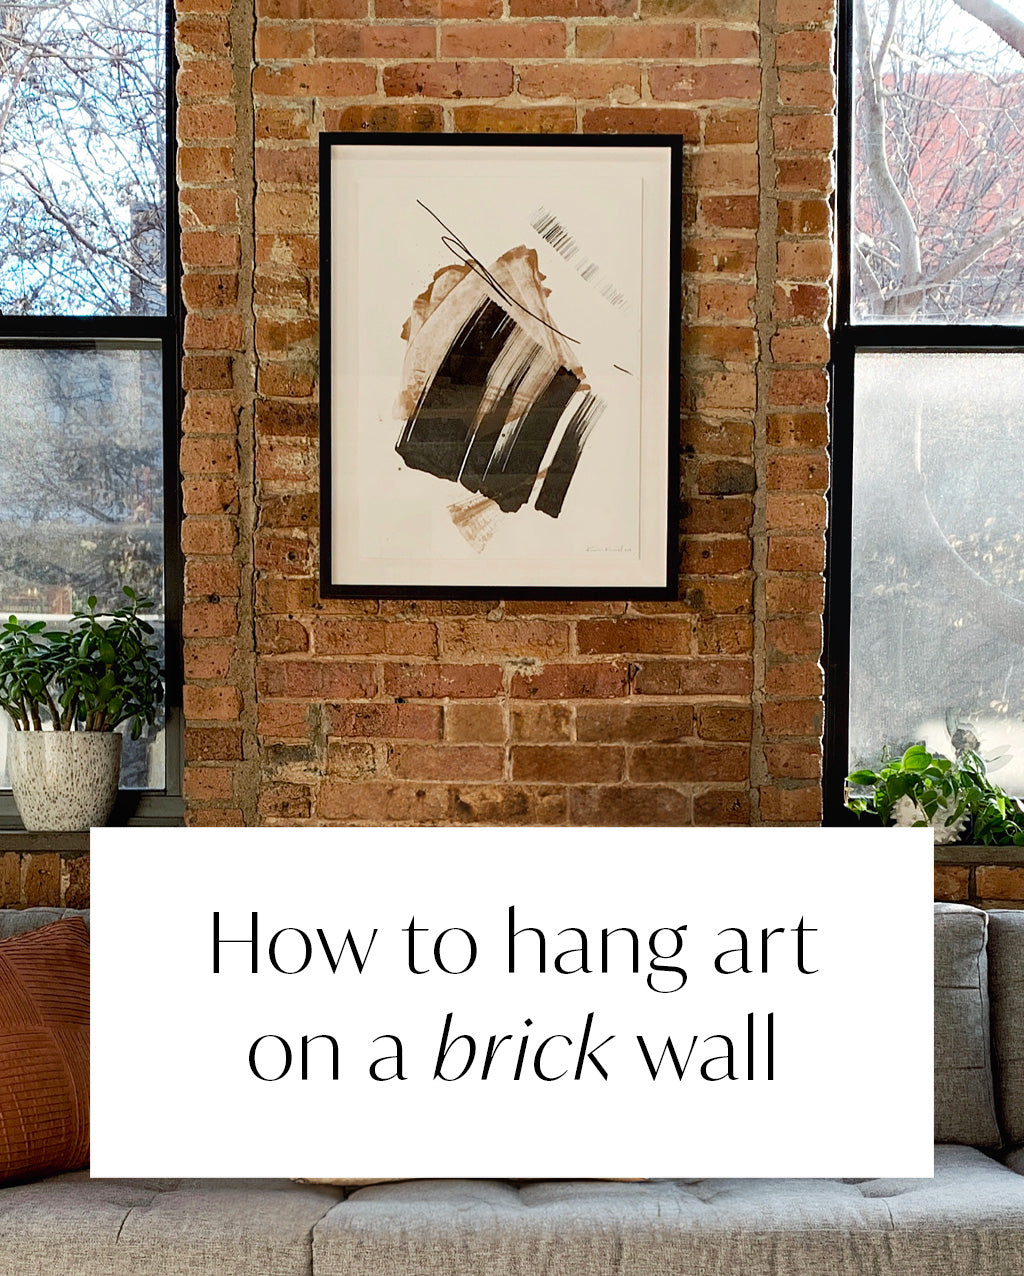
Credit: kimknoll.com
Choosing The Right Art
Choosing the right art for a brick wall can change the whole room. The texture and color of bricks need special care. The art should match the wall without getting lost or clashing. Think about size, weight, and style before making a choice.
Careful selection helps your art stand out. It also keeps the wall safe from damage. Here is how to pick the perfect piece for your brick wall.
Consider Size And Weight
Large art pieces make a strong statement on brick walls. Small art can get lost among the bricks’ texture. Heavy art needs solid support to stay secure. Choose art that fits the wall space well. Check the weight before hanging to avoid accidents.
Select Suitable Frames
Frames protect art and add style. Metal or sturdy wood frames work best on brick. Avoid delicate or light frames that may break. Choose frames that help hold the art firmly. Match frame color to either the wall or the art.
Pick Complementary Styles
Brick walls have a rough, rustic look. Smooth, modern art can create a nice contrast. Vintage or classic art blends well with brick texture. Use colors that either pop or gently match the bricks. Think about the room’s style when choosing art.
Tools And Materials Needed
Hanging art on a brick wall needs the right tools and materials. Without proper equipment, the job can be hard and unsafe. Prepare all items before starting the project. This saves time and avoids mistakes. The tools and hardware must fit brick surfaces. Safety gear protects you from dust and injury. Below are the key tools and materials for the task.
Essential Hanging Tools
Gather a hammer for light nails and tapping anchors. A drill with a masonry bit is crucial for making holes in brick. A screwdriver helps to tighten screws securely. Use a level to keep your art straight on the wall. A tape measure ensures accurate spacing and height. Pencil marks help position hooks or anchors correctly.
Hardware For Brick Walls
Choose masonry anchors designed for brick or concrete. Plastic anchors or sleeve anchors hold screws tightly. Use screws that fit the anchors and support the art weight. Hooks with strong bases work well for hanging frames. Avoid standard nails that do not hold well in brick. Correct hardware prevents damage and keeps art secure.
Safety Gear
Wear safety goggles to shield your eyes from dust and debris. Gloves protect your hands from sharp edges and rough bricks. Use a dust mask to avoid inhaling brick particles. Ear protection is useful if you use loud power tools. Proper safety gear makes the work safer and more comfortable.
Preparing The Brick Wall
Preparing a brick wall before hanging art is important. It makes sure your artwork stays safe and looks great. Taking time to prepare helps avoid damage to both the wall and your art. Follow these simple steps to get your brick wall ready.
Clean The Surface
Start by cleaning the brick surface. Use a soft brush to remove dust and dirt. Avoid water if the bricks are old or crumbly. A clean wall helps hooks or adhesives stick better. This step keeps your art secure on the wall.
Inspect For Damage
Check the bricks and mortar for cracks or loose pieces. Damaged areas may not hold nails or hooks well. Fix any problems before hanging your art. This prevents accidents and protects your wall’s condition.
Mark Hanging Spots
Measure and mark spots where you want to hang your art. Use a pencil or chalk that won’t damage the brick. Marking helps you place hooks evenly and avoid mistakes. It also makes the hanging process quicker and neater.

Credit: www.framebridge.com
Hanging Methods For Brick
Hanging art on a brick wall can be tricky. Brick is hard and uneven, so regular nails don’t work well. Choosing the right hanging method protects your wall and keeps your art secure. Some methods use tools that go into the brick. Others stick to the surface without damage.
Using Masonry Anchors
Masonry anchors hold heavy art safely on brick walls. First, drill a small hole into the brick. Avoid drilling into the mortar, as it is weaker. Insert the anchor into the hole. Then, screw a hook or nail into the anchor. This method is strong and lasts a long time. It works well for large frames and heavy pieces.
Adhesive Hooks And Strips
Adhesive hooks and strips stick directly to the brick surface. They do not require drilling or tools. Clean the brick surface before applying. Press the hook or strip firmly and wait a few minutes. These are good for light art pieces. They are easy to remove and do not damage the wall. Ideal for renters or temporary displays.
Wire And Hooks Technique
This technique uses the existing hooks or anchors on the brick wall. Attach a strong wire to the back of your art frame. Hang the wire on the hook or anchor in the brick. This method spreads weight evenly and keeps art stable. Good for medium-weight pieces. It allows easy adjustment of the art’s position.
Step-by-step Hanging Process
Hanging art on a brick wall can seem hard at first. This step-by-step process makes it easy to do it right. Follow these clear instructions to keep your art secure and your wall safe.
Drilling Into Brick
Start by marking the spot where you want to hang the art. Use a pencil to make a small dot. Choose a drill bit made for brick or masonry. Drill slowly and carefully into the brick. Stop once the hole is deep enough for the anchor.
Installing Anchors
Push a plastic or metal anchor into the hole. Tap it gently with a hammer if needed. Anchors hold screws firmly in the brick. They stop the screws from loosening or pulling out. Make sure the anchor fits tightly in the hole.
Mounting The Art
Insert a screw into the anchor and tighten it. Leave a small gap between the screw head and the wall. Hang your art on the screw. Adjust the screw to level the art perfectly. Check that the art feels stable and secure on the wall.
Tips For Perfect Placement
Perfect placement of art on a brick wall makes a big difference in your room’s look. It helps the art stand out and fits your space well. Follow these simple tips to place your art beautifully and create a balanced, attractive display.
Eye-level Positioning
Hang art at eye level for the best view. This means the center of the art should be about 57 to 60 inches from the floor. It feels natural and easy to see. This rule works well in most rooms and keeps the focus on your artwork.
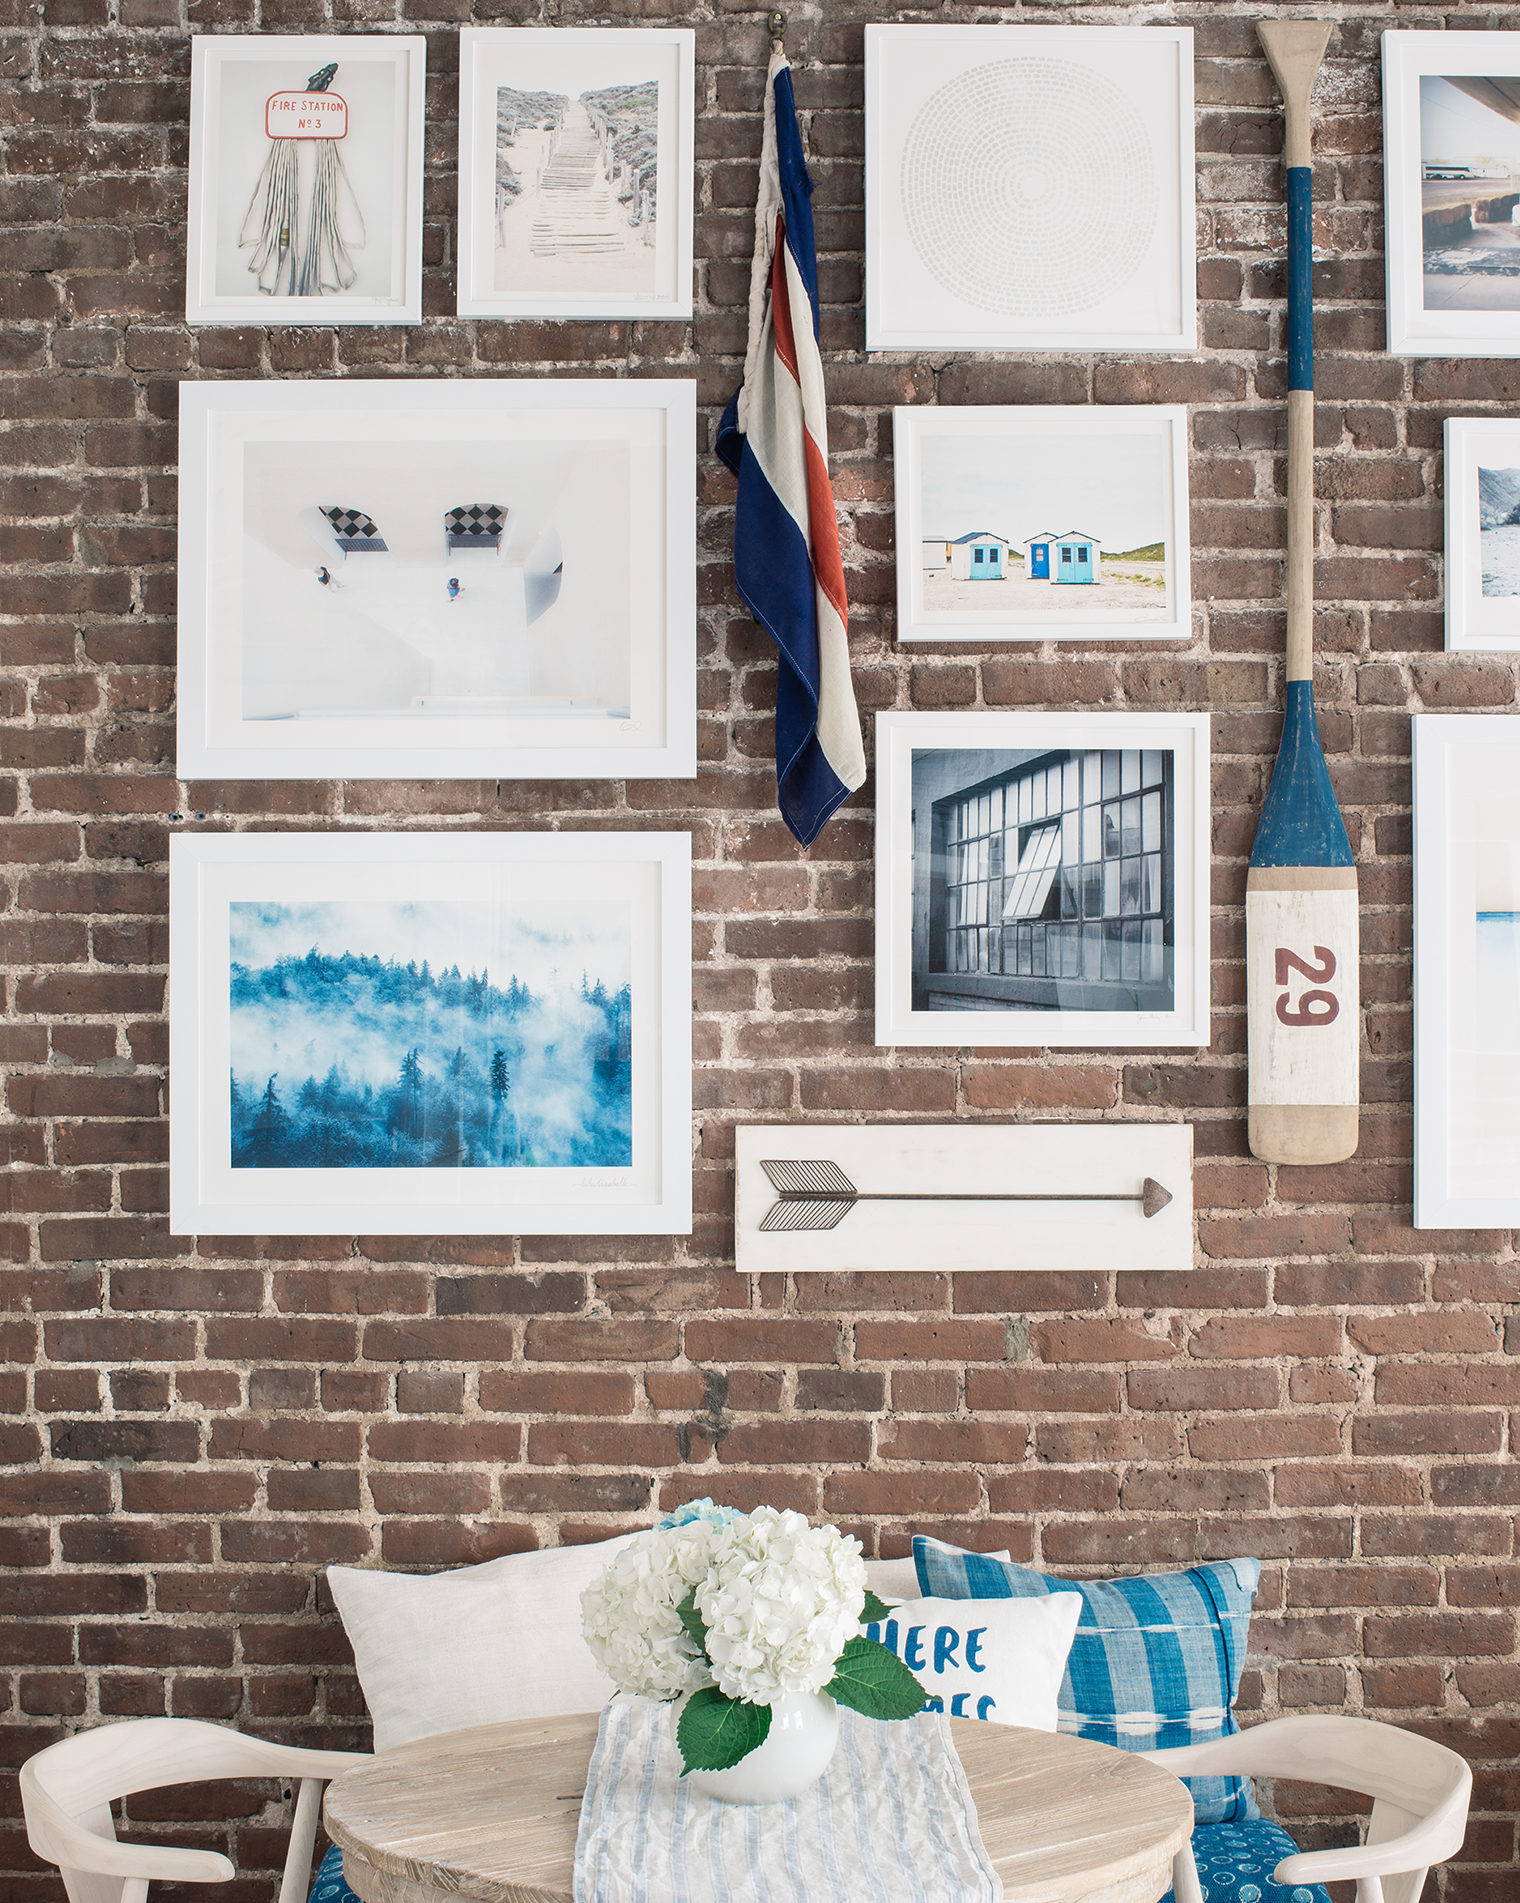
Balancing Multiple Pieces
Arrange several pieces with equal space between them. Keep them at the same height for a neat look. Use paper templates to plan your layout on the floor first. This helps avoid mistakes and makes hanging easier.
Lighting Considerations
Good lighting highlights your art’s colors and details. Use soft lights that do not cause glare or shadows. Natural light works well but avoid direct sunlight to protect your art. Position lamps or spotlights to shine gently on the wall.
Maintaining Your Display
Keeping your art looking great on a brick wall takes some care. Maintaining your display helps your artwork stay safe and fresh. Small steps can protect your pieces and the wall.
Regular attention prevents damage and keeps the display neat. Follow these tips to enjoy your art for a long time.
Cleaning Tips
Dust your art and the brick wall gently every week. Use a soft cloth or a brush with soft bristles. Avoid water on the artwork itself to prevent damage.
For the brick, a dry brush removes dirt well. If needed, use a damp cloth carefully, but do not soak the bricks. Keep cleaning light to avoid harming the art or wall.
Avoiding Damage
Check the hanging hardware often to keep it tight and secure. Loose hooks or nails can cause the art to fall. Use wall anchors designed for brick to hold weight safely.
Avoid placing art in direct sunlight to prevent fading. Keep away from damp areas to stop mold or damage. Handle the pieces carefully when cleaning or moving them.
Seasonal Adjustments
Change your display with the seasons to protect it. In humid months, watch for moisture on the brick or art. Use a dehumidifier if needed to keep the air dry.
In colder months, heating can dry out walls and frames. Check for cracks or warping and fix quickly. Rotate or move art to avoid constant exposure to one spot.
Credit: www.brightbazaarblog.com
Frequently Asked Questions
How Do I Hang Art On A Brick Wall Without Damage?
Use masonry nails or screws with wall anchors to avoid damaging the brick. Drill pilot holes carefully. Avoid nailing directly into bricks; target mortar joints instead for secure support.
What Tools Are Needed To Hang Art On Brick Walls?
You need a drill with a masonry bit, wall anchors, screws, a hammer, a level, and a tape measure. These tools ensure precise and secure mounting on brick surfaces.
Can I Use Adhesive Hooks On Brick Walls For Art?
Adhesive hooks generally don’t stick well on rough brick surfaces. For heavy art, mechanical fasteners like anchors and screws are more reliable and secure.
How To Choose The Right Anchors For Brick Walls?
Select anchors designed for masonry, such as sleeve anchors or plastic wall plugs. Match anchor size to the weight of your art for safe hanging.
Conclusion
Hanging art on a brick wall can be simple and fun. Use the right tools to protect your wall and artwork. Take your time to measure and mark the spots carefully. Choose anchors or hooks made for brick surfaces. This helps your art stay secure and look great.
Enjoy your new wall display and the cozy feel it brings. Keep these tips in mind for a smooth, stress-free process. Your brick wall can become a beautiful art gallery.
As an Amazon Associate, I earn from qualifying purchases.