Looking to add a personal touch to your living space? Making your own end tables is easier than you think, and it can save you money while giving your room a unique style.
Imagine having a piece of furniture that fits perfectly with your taste and needs—crafted by your own hands. In this guide, you’ll discover simple steps and smart tips that make building end tables a fun and rewarding experience. Ready to create something functional and beautiful?
Let’s get started!

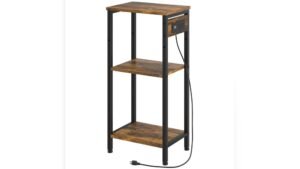
Credit: www.amazon.com
Choosing The Right Materials
Choosing the right materials is key to making sturdy, beautiful end tables. The materials affect the table’s look, strength, and how long it lasts. Picking good wood and the right tools makes your project easier and more fun.
Wood Types For End Tables
Wood choice changes the table’s style and durability. Pine is soft, easy to cut, and budget-friendly. Oak is hard, strong, and has a nice grain. Maple is smooth and holds paint well. Cherry wood has a rich color that darkens over time. Choose wood based on your budget and the look you want.
Tools And Supplies Needed
Good tools help create clean cuts and smooth surfaces. You need a saw, drill, and sandpaper. A measuring tape and square keep pieces even. Wood glue and screws hold parts together. Finish with paint or varnish to protect the wood and add shine. Gather all tools before you start to stay organized.
Design Ideas For End Tables
Designing end tables offers many ways to match your room’s style. These small pieces can change the look of your space. Picking the right design helps your table fit perfectly.
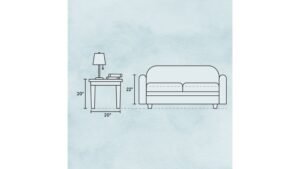
Consider the style of your furniture and room colors. Think about the table’s size and shape. This makes sure it looks good and works well.
Simple Modern Styles
Simple modern end tables use clean lines and smooth surfaces. They often have neutral colors like white, black, or gray. These tables fit well in rooms with a sleek, fresh look. Materials like metal, glass, or light wood work best. Designs avoid extra decoration to keep a neat feel.
Rustic And Vintage Looks
Rustic and vintage end tables bring warmth and charm. They use natural wood with rough textures or worn paint. These styles often include metal accents or classic shapes. They fit well with cozy, old-fashioned rooms. Choose wood with knots or cracks for more character.
Compact And Functional Designs
Compact end tables save space in small rooms. They often have shelves or drawers for extra storage. These tables help keep your area tidy and organized. Designs focus on usefulness without taking up much room. Look for lightweight tables that are easy to move.
Preparing Your Workspace
Preparing your workspace is the first step to making end tables. A clean and safe area helps you work better and faster. It also prevents accidents and mistakes. Setting up your space right saves time and effort.
Safety Precautions
Wear safety glasses to protect your eyes from dust and wood chips. Use ear protection if you operate loud tools. Keep a first aid kit nearby for minor cuts or scrapes. Clear the floor of any objects to avoid tripping. Work in a well-lit area to see your materials clearly.
Organizing Materials And Tools
Gather all your wood pieces, screws, and nails before starting. Arrange your tools within easy reach. Use containers or trays to keep small items from getting lost. Check that all tools are clean and in good condition. Organizing helps you work smoothly and stay focused.
Cutting And Shaping Wood
Cutting and shaping wood is a key step in making end tables. It sets the base for all other work. Careful cutting gives the table a neat, strong look. Shaping the wood helps create smooth edges and the right form. Both need focus and the right tools.
Taking your time here saves effort later. It also keeps the wood from wasting or breaking. Good cutting and shaping make the table easier to assemble and more stable. Let’s look at how to measure, cut, and shape wood well for your end table.
Measuring And Marking
Start by measuring your wood pieces carefully. Use a tape measure or ruler for accuracy. Mark the cut lines clearly with a pencil. Double-check each measurement to avoid mistakes. Mark both sides of the wood for better cutting guide. Use a square or straight edge for perfect lines. Precise measuring and marking give clean cuts and a good fit.
Using Saws And Sanding Techniques
Choose the right saw for your wood type and cut size. A handsaw works well for small cuts. A circular saw is faster for long, straight cuts. Cut slowly along your marks to stay accurate. After cutting, sand the edges smooth. Use coarse sandpaper first to remove rough spots. Then switch to fine sandpaper for a soft finish. Sanding shapes the wood and removes splinters. It also makes the table safer and nicer to touch.
Assembling The Table
Assembling the end table brings all parts together to create a sturdy piece. This step needs care and patience. Follow clear methods to join parts firmly. Proper assembly ensures your table lasts long and looks great.
Joining Techniques
Choose the right joining technique for your table parts. Common methods include dowels, biscuits, or simple butt joints. Dowels fit into drilled holes to align pieces tightly. Biscuits add strength with small wooden pieces inside slots. Butt joints connect edges directly for easier assembly. Select a method that fits your tools and skills.
Securing With Screws And Glue
Use screws and wood glue to strengthen joints. Apply glue on edges before joining parts. Insert screws slowly to avoid wood splitting. Pre-drill holes if needed for smooth screw insertion. Tighten screws until parts hold firmly, but do not over-tighten. This combination keeps your table stable and durable.
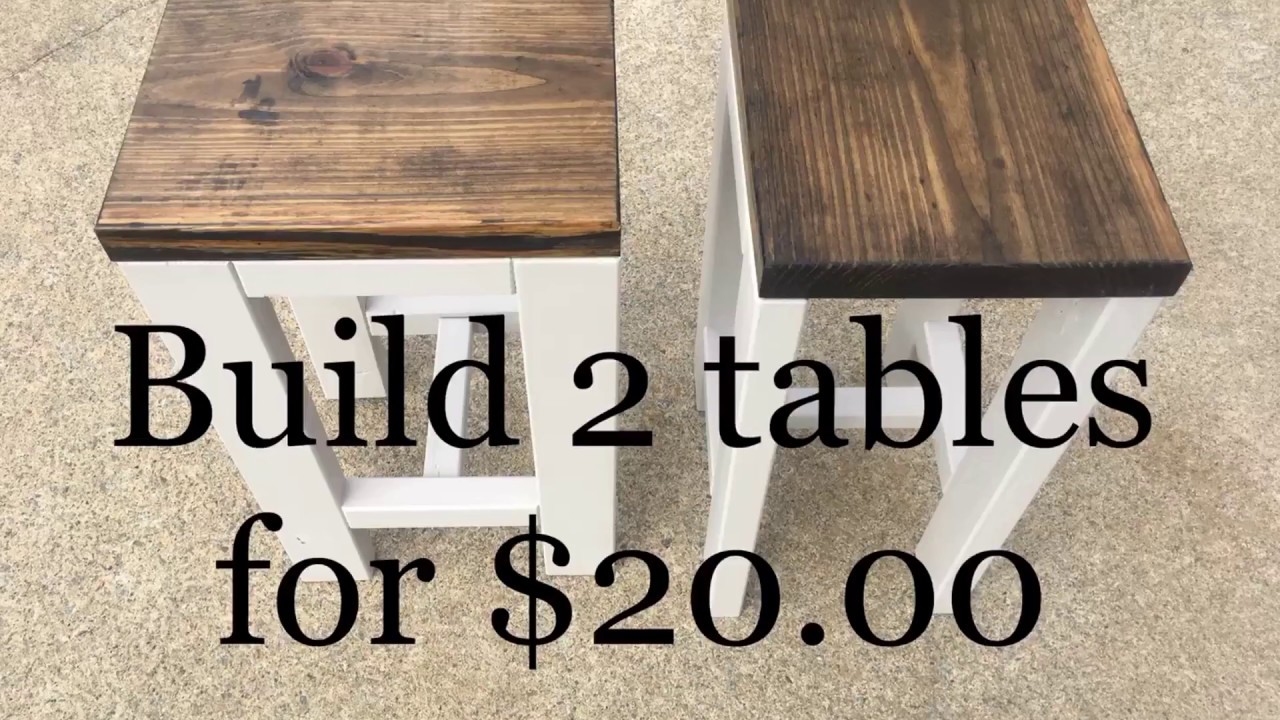
Credit: www.youtube.com
Finishing Touches
Finishing touches are the final steps in making end tables. They give your table a smooth, attractive look. These steps protect the wood and make the table last longer. A well-finished table feels nice and looks great in any room. Focus on sanding, painting or staining, and adding protective coatings.
Sanding And Smoothing
Sanding removes rough spots and splinters. Start with coarse sandpaper to even out rough areas. Use finer sandpaper to make the surface smooth. Sand all sides, edges, and corners carefully. Smooth wood helps paint or stain stick better. It also makes your table safer to touch.
Painting And Staining Options
Painting adds color and style to your table. Choose a paint that fits your room’s look. Use a brush or spray for even coverage. Staining shows the natural wood grain. Pick a stain color that matches your furniture. Apply stain with a cloth or brush. Let each coat dry before adding another.
Adding Protective Coatings
Protective coatings keep your table safe from spills and scratches. Use clear varnish, polyurethane, or wax. These coatings seal the wood and paint. Apply thin layers and let each dry fully. Buff wax for a soft shine. A good coating keeps your table looking new longer.
Customizing Your Table
Customizing your end table lets you create a piece that fits your style and needs. You can add features to make it more useful and unique. Small changes can make a big difference in your table’s look and function.
Adding Shelves Or Drawers
Shelves give extra space for books or decorations. They keep your items organized and easy to reach. Drawers hide clutter and keep things neat. Choose simple slides for easy opening and closing. Both shelves and drawers add storage without taking much space.
Incorporating Decorative Elements
Decorative details make your table stand out. Use wood stains or paint to match your room. Carved designs or patterns add charm and character. Metal accents like handles or legs create a modern touch. These small touches bring personality to your table.
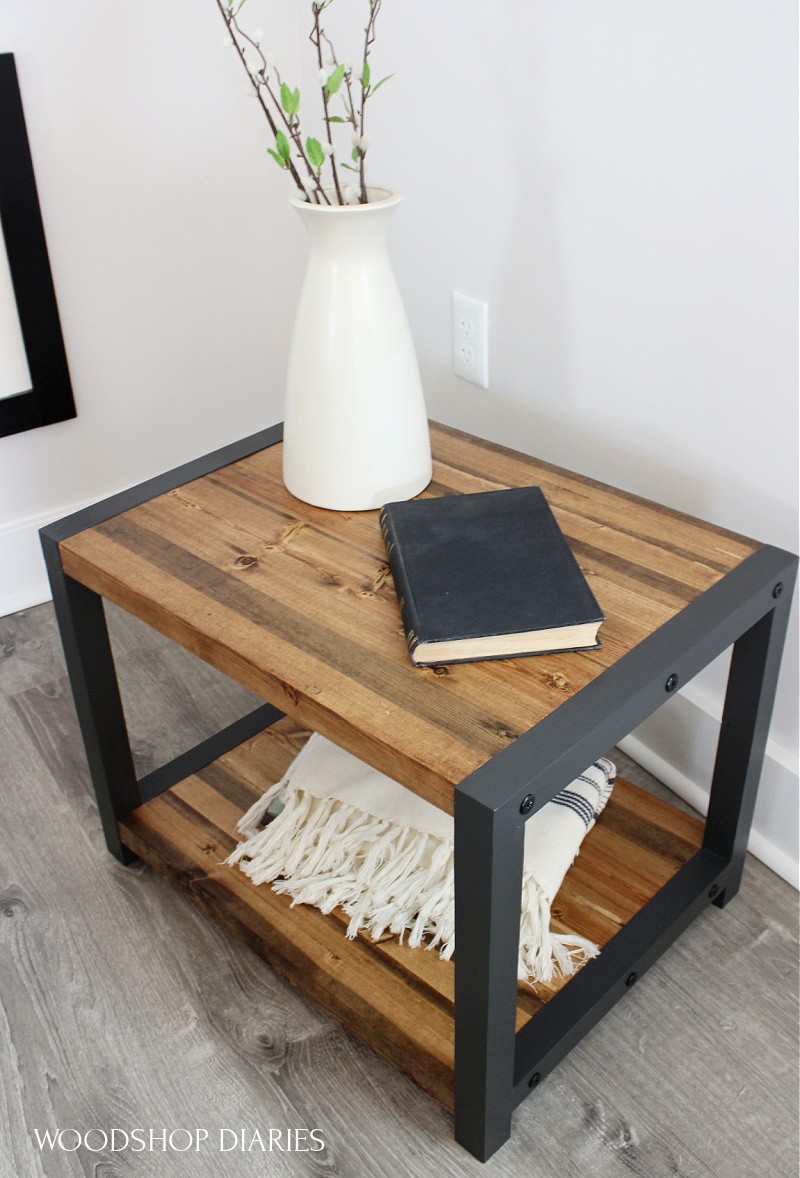
Credit: www.woodshopdiaries.com
Maintaining Your Diy End Table
Maintaining your DIY end table helps keep it looking fresh and new. Simple care steps extend its life and keep it strong. Regular attention protects your hard work and makes your table last longer.
Cleaning Tips
Use a soft cloth to wipe dust daily. Avoid harsh chemicals that can damage the finish. A damp cloth with mild soap works well for stains. Dry the table right after cleaning to stop water spots. Keep liquids off the surface to prevent damage.
Repairing Minor Damages
Small scratches can hide with a wood marker or crayon. For dents, place a damp cloth on the spot and press with a warm iron. Loose screws should be tightened to keep the table steady. Fill small holes with wood filler, then sand smooth. Regular checks prevent minor issues from growing bigger.
Frequently Asked Questions
What Materials Are Best For Making End Tables?
Wood is the most popular material for end tables. It offers durability, easy customization, and a classic look. Other options include metal, glass, and reclaimed materials, depending on your style and budget. Choose materials that match your room decor and personal preference for best results.
How Long Does It Take To Build An End Table?
Building a basic end table usually takes 2 to 4 hours. Time varies based on design complexity and skill level. Beginners might need extra time for measuring, cutting, and assembling. Planning and preparation can speed up the process and improve the final outcome.
What Tools Are Needed To Make An End Table?
Essential tools include a saw, drill, measuring tape, sander, and screwdriver. Additional tools like clamps and wood glue help with assembly and stability. Using the right tools ensures accurate cuts and smooth finishes, resulting in a professional-looking end table.
How Can I Customize My End Table Design?
You can customize your end table by choosing unique shapes, sizes, and finishes. Add paint, stains, or decorative hardware to match your style. Incorporate shelves or drawers for extra storage. Personal touches make your end table functional and visually appealing.
Conclusion
Building your own end tables can be simple and fun. You only need basic tools and materials. Follow the steps carefully and take your time. Personalize your tables to fit your style and space. Handmade pieces add charm to any room.
Enjoy the satisfaction of creating something useful. Start small, and improve with each project. Your home will feel warmer with these unique touches. Try making end tables soon and see the difference.
As an Amazon Associate, I earn from qualifying purchases.